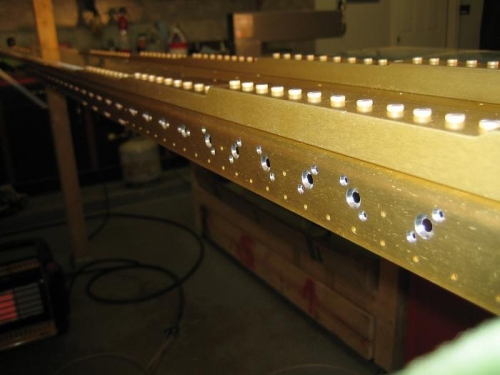
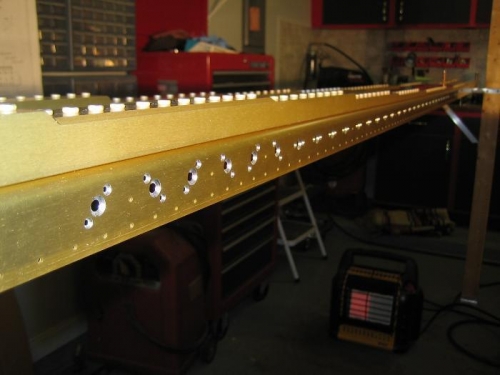
Brief Description: Finished countersinking main spar
I finished countersinking the main spar this morning. The platenuts for the inspection access plates are installed very close to the edge of the flange so care must be taken to get enough depth to seat the access plate dimple but not so much depth that the countersink cutter gets to the flange edge.
I began by match drilling the inspection plates to the flange with a #30 drill. I then enlarged the access plate holes to #27 for the #6 screw dimple die (#30 hole is not quite large enough for the dimple but is perfect for the countersink pilot). I adjusted the countersink cage using the dimpled access plate. Once sure of the depth, I clecoed the nutplate jig in place and began machine countersinking (my jig accomodates all four nutplates). The access plates were test fitted with good results.
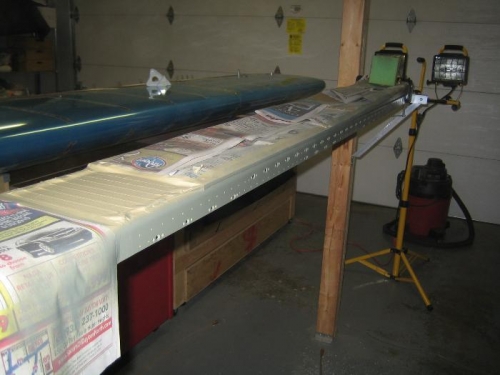
Last step for the day was to prime the spar flange to protect the aluminum where the anodizing was cut away by the countersinking. I will begin the next shop session by riveting all the nutplates to the main spar.