
|

|
|
|
Pete's RV-8 Web Site
|
Date: 8-25-2009
|
Number of Hours: 3.00
|
Manual Reference: 7-11
|
Brief Description: Prime parts and begin riveting left flap
|
|
I began this session by scrubbing all the components to be primed with soapy water and a scotchbrite pad. Components to be primed include the ribs, and the actuator brackets. These parts seem to get scratched in processing and the brackets have tooling marks which must be smoothed and polished. The spar and the skins are not primed (plastic coating kept on as long as possible to protect the aluminum). After washing, the parts were wiped down with acetone to remove any lingering dirt, grease, fingerprints, etc. Parts were then primed with self-etching Dupli-color in a rattle can.
While the primer was curing, I converted one of my V-block stands used earlier for the elevators to hold the flap assemblies while riveting (same approach as before, match to ribs, cut with bandsaw, and cover edges with carpet).
After a bit of drying time, I began the initial riveting. This consisted primarily of attaching the actuator brackets to the inboard end rib and the spar. I ran into a problem with my pneumatic squeezer and number 4 rivets. The squeezer would not set the rivets properly. I checked the pressure and some different combinations of rivet sets and shims. Finally, I decided to quit for the day and spend some time researching the problem on the internet. I may have found the answer in an instructional document at the Cleaveland Tool site. The document gives the proper gap distance between the rivet sets for each size rivet up to a -7. I intend to do some experimenting on some scrap material with Cleaveland's figures in my next shop session.
|
|
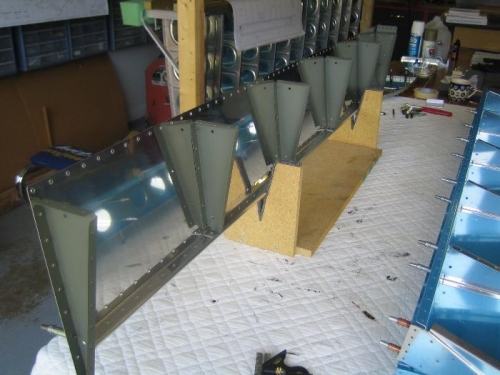
Some Initial Riveting
|
|
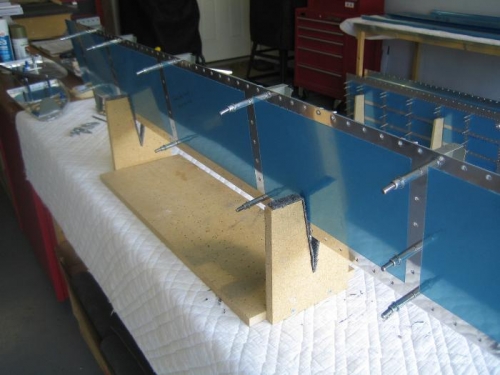
Bottom Skin
|
|
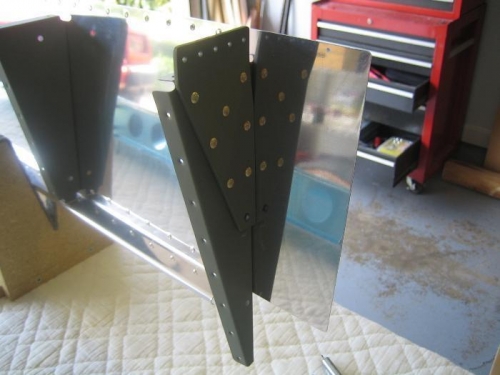
Actuator Bracket Riveted
|
|
|
|
|
|
|
|
|
Copyright © 2001-2024 Matronics. All Rights Reserved.
|