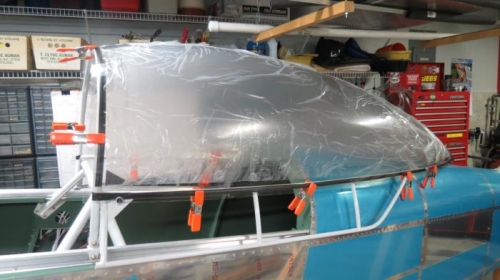
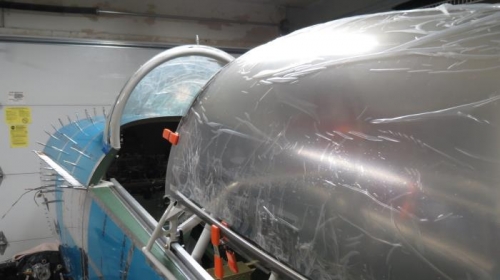
I made another cut along both sides of the canopy. Next, I clamped the canopy to the sides of the frame starting at the aft end. As I moved forward the glass came down and forward a bit so it was necessary to deepen the small arcs in the glass where it contacts the vertical tubes on the frame.
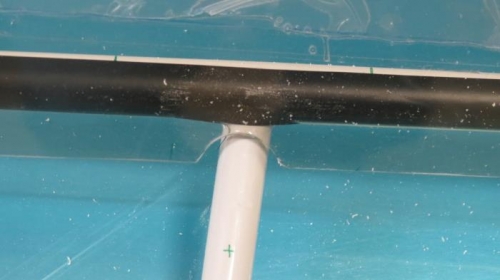
I remarked the locations for the rivets or screws in the aft end of the sliding frame. Starting 3.5" from the splice point (called out in the plans) I marked eight holes in the tubing every 2.3". There is also one hole centered at the extreme aft end of the frame. I also marked the curved bow portion of the frame. You will see in the pictures I taped the frame witth black electrical tape. This allows me to press the glass against the tape and I can see exactly where the point of contact is for drilling the rivet/screw holes.
I plan to have another RV-8 builder stop by the shop tomorrow for a final inspection and unless he has some further recommendations my next steps include match drilling the glass to the frame starting at the aft end and alternating side to side and finishing with the bow. Then the canopy with frame will be removed and placed upside down on my sawhorses so I can mark the final cut line all the way around the frame. I will then make the final cut, dress all the edges smooth, and cleco the glass back on the frame. Once reinstalled on the fuselage I will determine how to make the final trim of the winidscreen and match drill it.