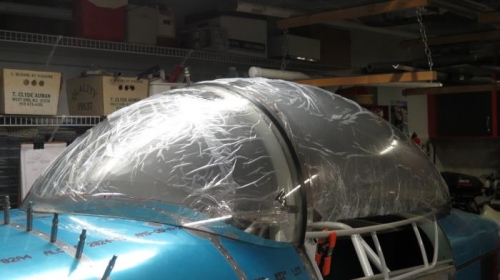
Ok, I marked and cut the small arcs in the edges of the canopy where it intersects the vertical tubes on the frame so when the glass is pulled down and clamped it won't get stressed against the tubing. I also positioned the canopy fore and aft and side to side so I could drill and cleco the glass to the canopy roll bar and the extreme aft end of the sliding frame.
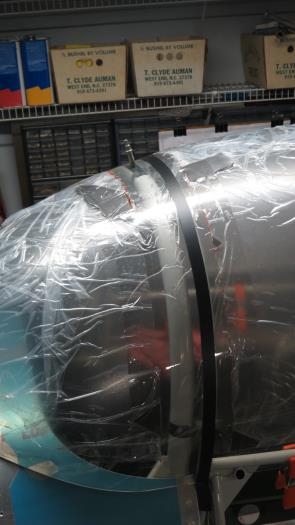
The canopy was match drilled to the roll bar and sliding frame. Then I clamped the canopy sides to the sliding frame to stabilize the canopy bubble. Next, I marked the cut line for separating the windscreen from the bubble. The cust line was marked with black electrical tape and the canopy then removed and set on saw horses.
Tomorrow when I am fresh the "big cut" will be made to separate the windscreen and bubble into two pieces. Then it will be time to see if the bubble can be clamped to the frame for match drilling. I am concerned about the area on the aft end of the sliding frame. The glass in this area is thicker and it must be pulled in to mate with the frame. Hope the bubble becomes a little more flexible once cut from the windscreen.