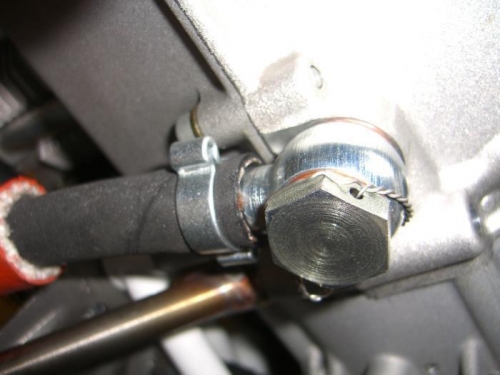
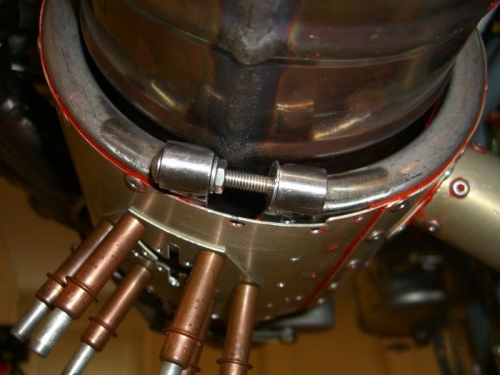
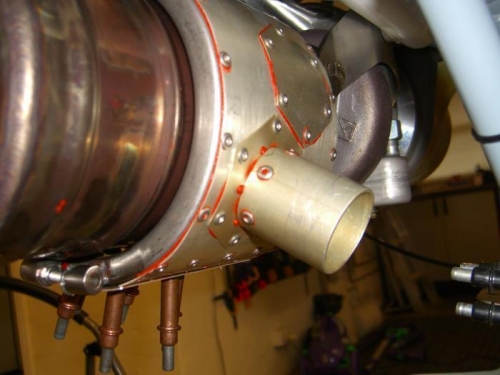
I've continued working on the heater shroud over the past couple of days, the shroud is now riveted to the clamps and the extra baffle piece is riveted too. I've elected to use the lower exit port in the hope that the air will have just that little bit extra heating by travelling a few more centimetres past the upper one. Of course there is the possibility that it will also see cooler air bypassing the baffle and make the heater air not so hot! We'll eventually see which theory is correct. The clamps are quite difficult to slide over the ridges of the muffler so I made two spreaders using some M3 "T" nuts from my woodwork supplies along with some 35mm x 5mm screws, some M5 nuts & washers. The end of the screws were ground to somewhat of a point that locates in the "T" nut, stopping the screw from wandering when the screw is applying pressure to spread the clamp, it works well and is easy to remove. Before installing the shroud, I installed the oil return hose to the banjo fitting on the bottom of the engine sump, clamped it & lockwired the banjo as it is very tight to access once the shroud is in place. The shroud will now wait for final fitment until the lower cowl is installed and the inlet tube position is confirmed.