
|

|
|
|
Mark Weitkamp CX4
|
Date: 6-24-2023
|
Number of Hours: 5.00
|
Manual Reference:
|
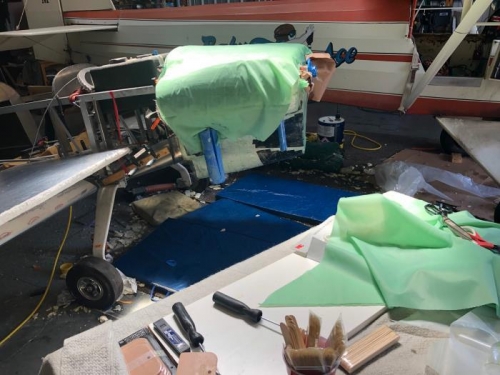
Brief Description: first layer of fiberglass applied to plug mold
|
|
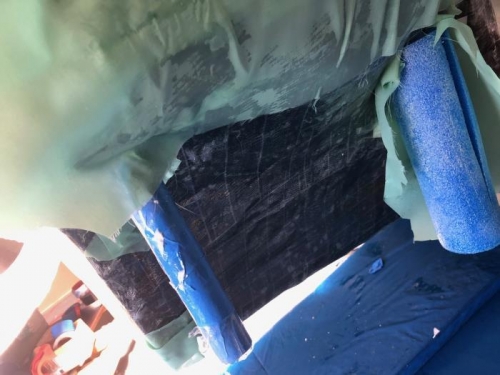
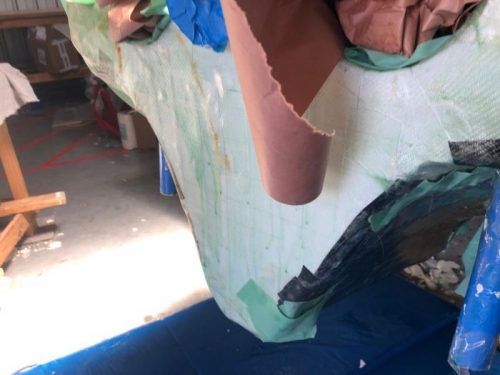
This was a rather humbling day. I had cut out all the fiberglass fabric in hopes of laying up all three layers of the engine cowl. But in the end I was only able to get one layer put on, and I have some doubt whether I got complete coverage. There is an area on the port side, between the exhaust pipes, where I am not quite sure I got the proper overlap. There was a little over two hours from the time I mixed the first batch of epoxy, to the time when I had to quit for the day. I attempted to apply peel ply over that first layer so I would not have to sand before the second layer. But the peel ply did not successfully wet into the epoxy over the entire area. There were a few small patches where it did wet in, but mostly it just laid on top, the epoxy was already too set up.To help with planning for the next layer, I want to make some notes about how today went: I started by mixing a batch of epoxy which I painted onto the vertical and overhead areas on the plug mold, in hopes that this would help the fabric to adhere in those areas. Next I mixed a batch of epoxy and wetted out (pre-pregged) the piece of fabric to be placed on the flat front plate including the bottom halves of the air inlets and propeller opening. Next I mixed a batch of epoxy and wetted out (pre-pregged) one of the two trapezoidal shaped fabric pieces. Next I mixed another batch of epoxy and wetted out (pre-pregged) the second trapezoidal shaped fabric piece. I did this pre-pregging flat on the assembly table between two sheets of plastic film previously used for vaccuum bagging. I expected these two pieces to wrap around the plug mold, have proper overlap at the two seams, and have enough excess at the front to trim off some pieces to patch any gaps around the exhaust pipes. I expected the front edges of these two pieces to wrap around and lay onto the front flat plat about 2", and then have the separate flat front plate wrap around about 2" onto the sides. This plan worked fairly well, although there were a couple spots where the
|
|
|
|
|
|
|
|
|
|
|
|
|
|
|
Copyright © 2001-2024 Matronics. All Rights Reserved.
|