Drilled dimpled and CS the battery box sheet aluminum to the side hinges. Glued some rubber edging onto the sheet simply because I had some, really not necessary. Have the sheet taped holding the rubber edging in place until the glue dries, will then take a couple pictures of the finished product.
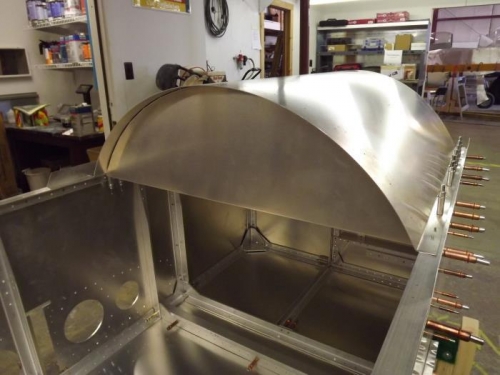
Clecoed the glare shield onto the stringers and located the instrument panel and drilled it to the stringers. Marked the center of the panel tabs so I can locate and drill them to the glare shield. I plan to install nutplates to the panel tabs so I can remove the glare shield leaving the panel in place. I plan to rivet onto the panel an enlarged panel made out of .063 aluminum. I'll then remove all but about 1" of the original panel keeping about a 1" perimiter with the tabs and nutplates attached. The new panel will extend about 2" below where the original panel stops provided I will have knee room with the extension. I'll post some plans and layout I have for the new panel in the "panel - layout" section of Kitlog.