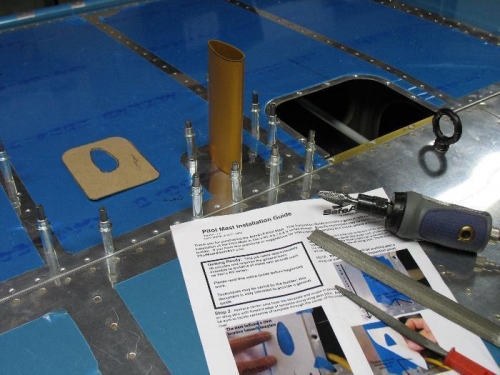
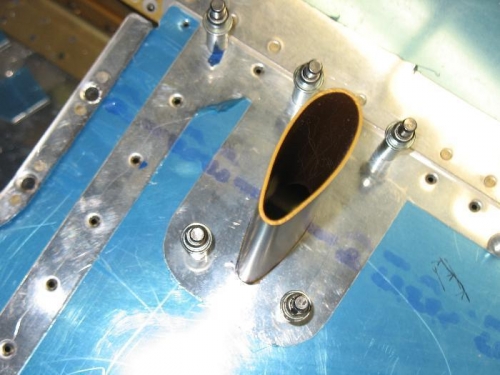
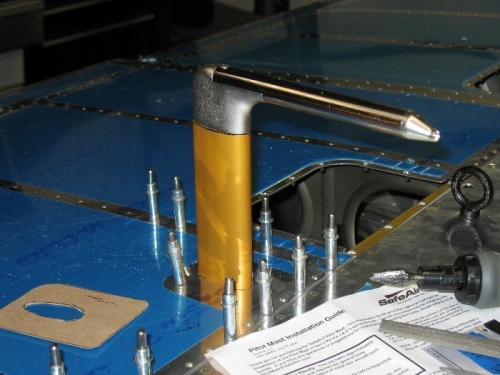
Harland had purchased the SafeAir Pitot tube and mast kit along with the angle of attack and static kit. We decided agains the heated pitot tube for expense sake. Many thanks to Dave Roe, a local RV8 builder and pilot who offered a hand as Harland was working. I made my own template for the mast base plate, only to discover there was one in the kit but it got buried in a box that was on the floor of our shop. The unibit is essential in cutting out the hole in the bottom skin for the mast. Then fine tune the shape with burring bits of various sizes and shapes. Go easy! you only have one shot at it or you end up buying a whole skin and starting all over. Final shaping can be done with small hand files, half rounds, etc. and then carefully deburring the edges. Follow the instructions as it is not necessary to do final riveting of the mast flange to the skin until the pitot and angle of attack tube lines have been installed. I drilled extra 7/16" holes for the AOA line in the ribs. The ribs closest to the root end are very close together making drilling access difficult. I used a 90 degree drill attachment but on the next wing, we'll drill the ribs prior to installing. Much easier. Live and learn.