Brief Description: Installed Taper Pins in Control Tree Assembly
After learning my lesson on the mixer assembly and taper pin incident, I went for another round using taper pins on the control tree assembly. The plans call for 1/4" AN bolts, but several other builders have suggested using taper pins when joining the control sticks to the lower control assembly/control horns. The taper pins needed are the same for the Waiex mixer assembly: AN386-1-8 and AN975-3 taper pin washer for each stick. The taper pins are drilled, but I went with AN365-1032A undrillled fiber lock nuts. You'll also need a B&S Taper Pin Reamer #1. Aircraft Spruce has these available along with all the other hardware. The reamer however was $47!
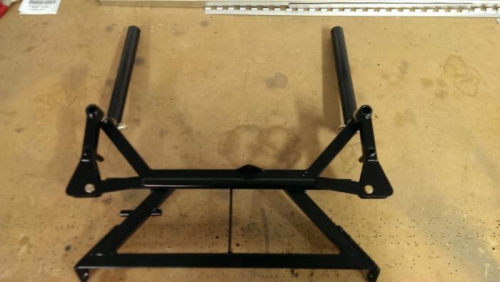
Getting this entire assembly square and secure during fitting and drilling is challenging to say the least. The sticks must be on centerline with the control horns before you drill. Otherwise the sticks will be leaning to one side or the other when the controls are neutral.
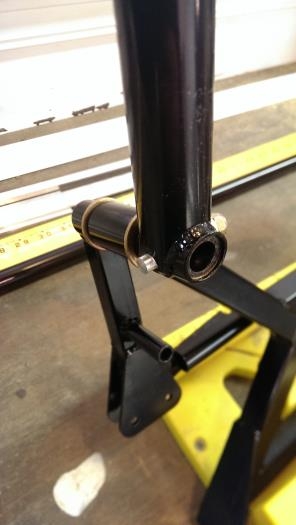
After installing the control sticks, I installed the bushing on the synchronizing arm in the second picture. Getting everything perfectly square in this step is critical to having a properly functioning control system. I drilled the left side of the syncro arm, upsized and installed its bushing.
The plans call for a AN3-6 drilled bolt going through the bushing. Again, as in many cases of the sonex plans, the bolt callouts are too long. I only had AN3-6 lenght bolts, so I added two extra washers and installed the castle nuts and cotter pins. All is well now. No slop in the entire column!