Brief Description: Drilled and Installed Taper Pin in New Mixer Pivot
I received my replacement mixer pivot shaft and output arm from Sonex today. The previous parts I oversized by accident. This go around I took my time reaming the hole. I had practice since I used taper pins in my control sticks, so that helped!
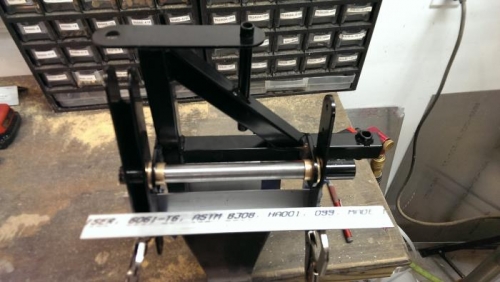
I used my butane torch to remove the shaft powder coating and sanded the remaining coating away. After fitting, I decided to clamp the two new parts together more securely. They need to be lined up in the same plane when drilling the taper pin hole. You can see the two scrap pieces of angle in pic one and the vise grip clamps holding them. I padded up the vise before securing and had a much more stable part to work on this time.
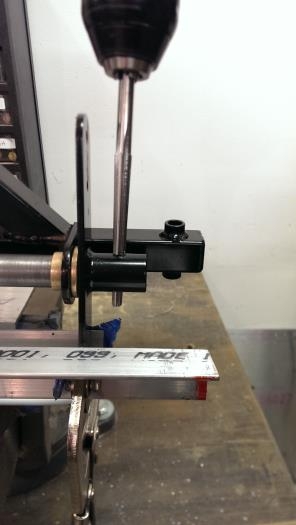
I first used a #40 bit, stepped up to a #30 and then a #11. The number 11 is just slightly smaller than the small end of the taper reamer. I then inserted the reamer and it opened up the hole making sure I made several passes so not to oversize the hole again.
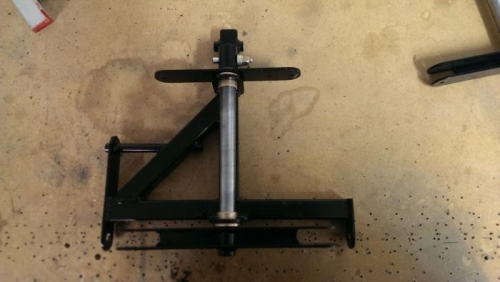
Inserted the taper pin, taper washer, extra AN washer, and fiber lock nut, then cleaned and primed the bare metal shaft. I'm pleased with the fit and finish.