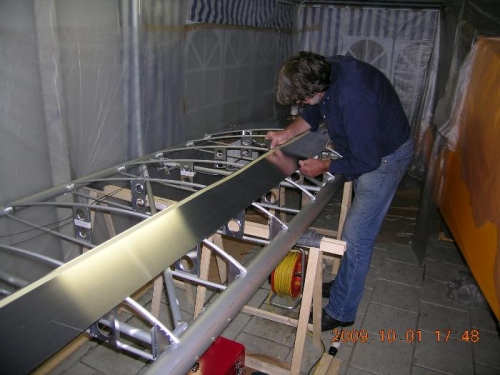
Jos, a good friend of mine, came by to give me a hand. To get this job done it is useful to have an extra set of hands, the wrap is a long piece to work with.
Unrolled the leading edge wrap and lay it into position. Flush with the outer radius of the root rib and flush with the outer radius of the no 11 rib. Trimmed of the excess length at the tip.
Riveted the stiffner to the bottom side of the wrap.
Located and drilled a 30# hole through the leading wrap aft edge into each rib on centerline, maintaining a 3/16" edge distance.
Drilled 5 holes in the leading edge wrap and top root skin.
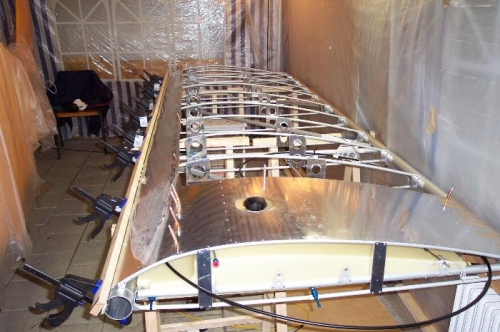
Marked a line along the length of the spar and removed the wrap. Used 80-grit sandpaper to rough up the bond area on the leading edge wrap and spar. Used masking tape on the spar to prevent excess glue from bonding in unwanted areas..
Riveted the wrap to each rib and top root wrap. Used 3M DP-460 Epoxy to bond the wrap to the spar. Used two long straight wooden boards and 10 quick clamps to retain the wrap in position until the epoxy cures.
Bond the top root skin to the aft spar.
Left the clamps for 48 hours before I removed them, the building place was heated during this time to 20 degrees C to help the epoxy cure.
Removed the clamps and cleaned off any excess epoxy from the wrap and spar.