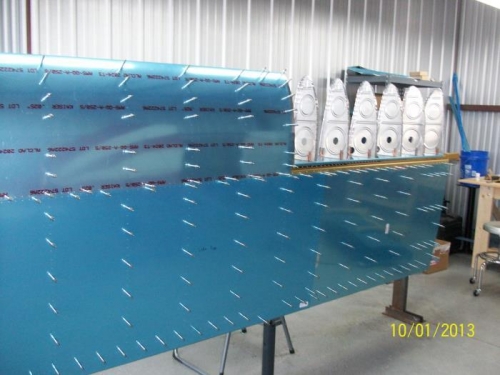
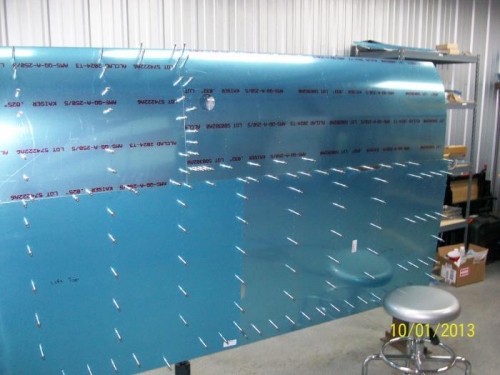
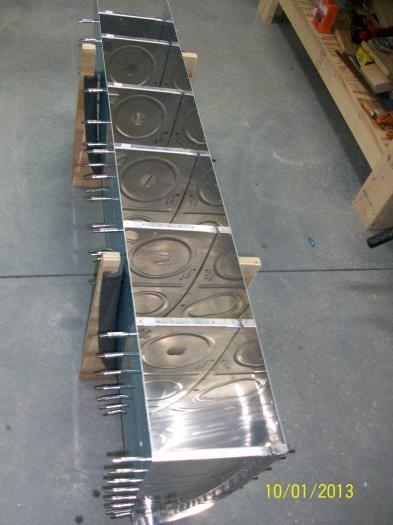
On reviewing the manual after my last session I discovered I had jumped ahead a step or two. I removed the ribs that I had struggled to cleco to the tank skin last time and instead clecoed them to the tank baffle and spar. (Notice in the picture I have the end one on one backwards, but caught and corrected this!) Then using a 12" bit for better access and using a drill stop to prevent damaging the spar underneath I final drilled all of the rivet holes for the rib/tank baffle/attach angles. The tank skin was then placed over these ribs and clecoed to fit tight at the junction of the tank skin and the leading edge skin. The holes for the screws that will attach the tank skin to the joint plate were then drilled. The tank skin was removed and I returned to the wrestling match of trying to cleco the ribs to the skin. This is a difficul process because of the curves and the metal is fairly thick and hard to work with. But I had read some helpful tips on the VAF forum site and had a good bit easier time with it this go round. All ribs are now clecoed to the tank skin and it is ready to have all rivet holes match drilled.