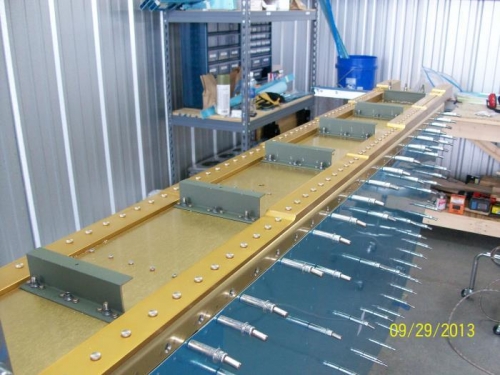
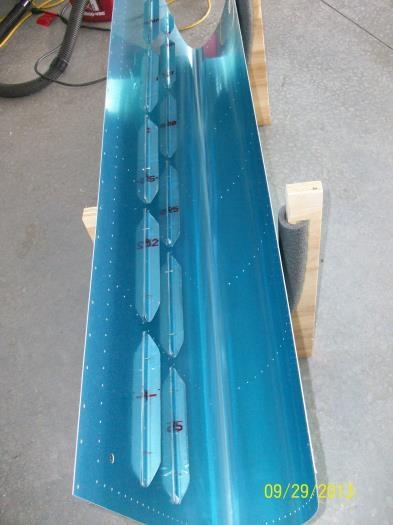
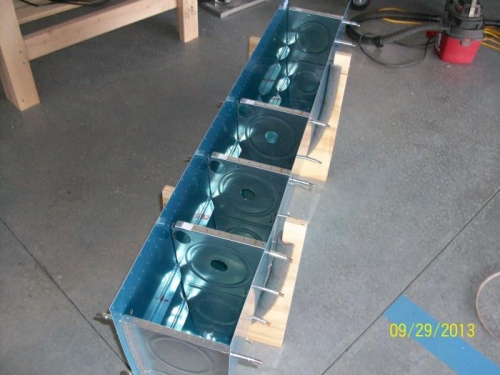
I continued work on the fuel tank today. First I riveted the platenuts to the outer 6 attach angles (3 each) then bolted the angles to the spar. The tank baffle was then clecoed to the attach angles. The inerrmost attach angle was then clecoed to the baffle and the angle was match drilled using the holes in the spar as a guide. The baffle was removed and then the platenut rivet holes in the spar were countersunk, and then platenuts were riveted to the spar for the innermost attach angle. The tank baffle was clecoed back to the attach angles. The tank stiffeners were cut to length and shape from angle stock, then all corners were rounded and the edges deburred using the Scotchbrite wheels on the grinder. The stiffeners were cleoced to the tank skin and match drilled. The tank skin was then placed on the wing spar and baffle and clecoed in to check for fit. Everything was perfect, so off the skin came. Lastly I started clecoing the tank ribs to the skin. This turned into a real wrestling match as the skin and ribs are made from thicker metal than the leading edge was. I was able to get 5 of the 7 ribs in before calling it a day.
During today's session I took a break to enjoy a pleasant flight with my bride. The air was a bit lumpy but visibility was excellent and it made for a very nice flight.