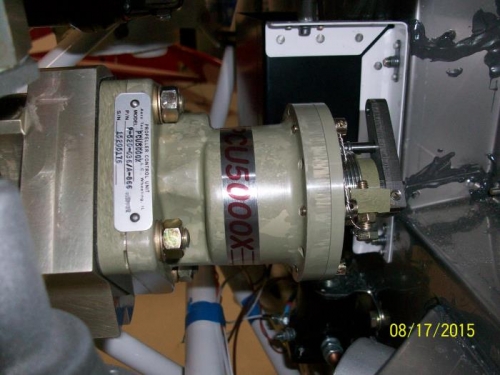
The prop governor arrived last week so today I installed it. I did have to make a call to Superior, who built the engine, as I was concerned that the threaded studs supplied to mount the unit did not thread easily into the engine block. They said this was on purpose so the studs would get a good grip. I used two nuts locked against each other on the opposite end of the stud, lubricated the threads with grease and easily instaled them in the block with a rachet.
After a trial mounting of the governor I saw that I needed to change the position of the actuator arm so the safety wires were removed from the securing screws, screws loosened, actuatod housing rotated, screws tightened and safetied with safety wire. Then the uniti was installed with the supplied gasket, nuts and washers.
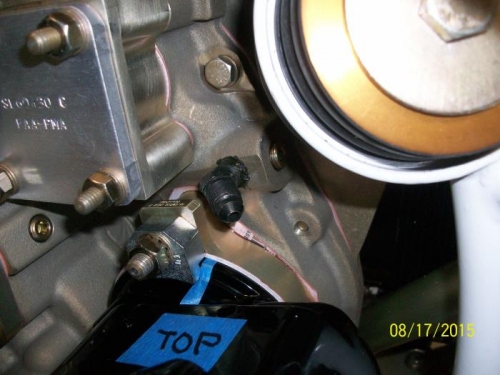
Next the magneto was removed so I could install the oil pressure fitting in the crankcase. The magneto was reinstalled. Wire and ground to the magneto was installed.
Oil line from prop govenor to front of engine installed. Fuel line from fuel pump to servo installed.
Spoke to the owner of Eletroair and he provided information on how to modify the wiring harness to allow for the keyed ignition switch.