We got a brief reprieve from the cold today so I had a good session after work tonight. The replacement end leading edge rib was delivered over the weekend so I put myself to getting the leading edge ready for riveting.
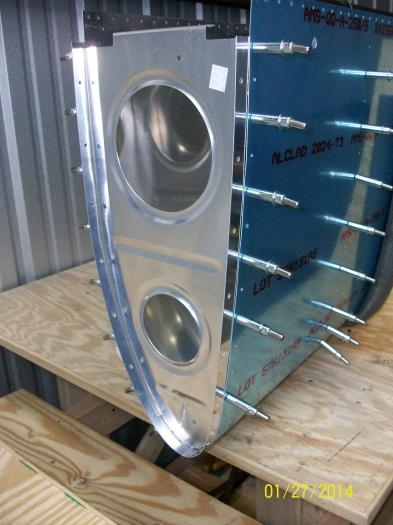
First I got the replacement rib ready by starighteneing it with fluting pliers, checking straightness with a straightedge and them marking a straight line down the center of the rib flanges. The rib was then placed in position on the spar and under the leading edge skin and I match drilled top and bottom holes at the tip and base. I then inserted the joiner plate and clecoed them together and match drilled the remaining holes, clecoing as I went. The I match drilled up the through the spar and through the rib spar flange. The leading edge was then removed from the spar and disassembled.
The end rib and the joiner plate were deburred. The joiner plate was then match drilled for platenuts. All holes were deburred and dimpled and then platenuts riveted to the joiner plate. The ribs were all dimpled, and then the skin was dimpled.
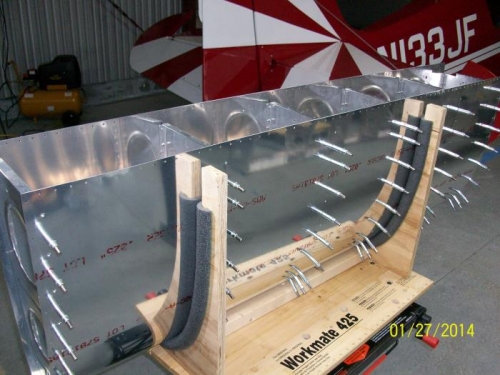
I reassembled the leading edge skin and ribs in the cradle, which I have attached with a bolt to my Workmate. This will allow the assemble to be rotated and is at a convenient work height. The ribs are all now clecoed to the skin and it is ready to be riveted during my next session.