
|

|
|
|
Bills RV-7 Build Site
|
Date: 5-9-2013
|
Number of Hours: 2.50
|
Manual Reference: 6-7
|
Brief Description: Complete rudder trailing edge, bend leading edge
|
|
Worked on the 2 hardest items so far, the trailing and leading edges of the rudder. The trailing edge had been epoxyed and clecoed several days ago, so I removed the clecos, the used the hole deburr tool in a power screwdriver to clean any epoxy out of the dimples, then used a #40 reamer to clean out the holes. Rivets were inserted in all the holes and taped down for back riveting. I had purchased a 6 foot long piece of 1/4 inch by 4 inch steel plate and used this as the back rivet plate. This worked out really well since I did not have to slide the rudder around. Once I got it all laid flat against the plate I weigheted the rudder down and then began the rivet sequence. These double flush rivets are a bit of a trick, where you partially set as back rivets then flip the rudder over and finish setting them with a mushroom set from the top side. It all turned out really well with a nice straight trailing edge, no bow or waviness, and the rivets are all setting nicely in their dimples. Then I began the tedious process of rolling the leading edge metal to form the curve to join the left and right skins. I am using a 3/4 ich dowel, and this is a bear! I did get the upeer section and the middle sections rolled and clecoed together before calling it a night. The lower section will wait for another day.
|
|
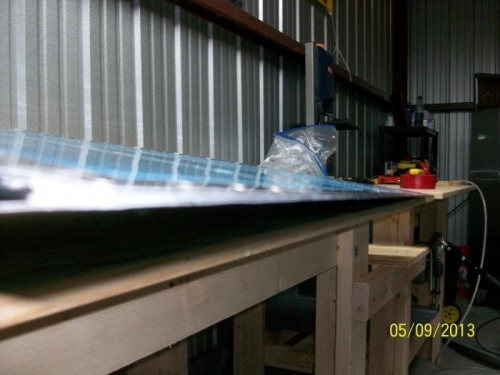
Trailing edge, nice and straight!
|
|
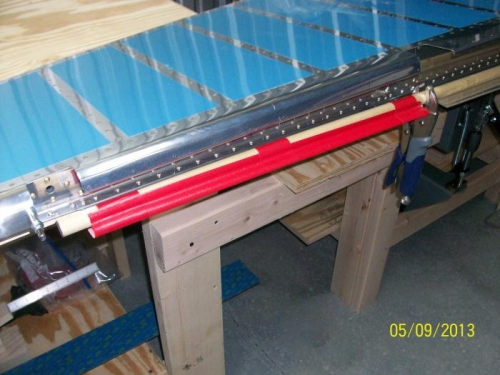
Dowel taped to skin for rolling
|
|
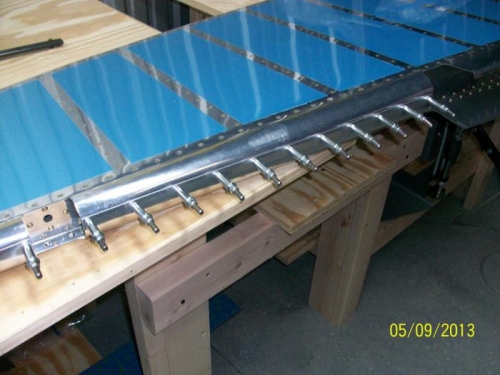
Center section rolled and clecoed
|
|
|
|
|
|
|
|
|
Copyright © 2001-2024 Matronics. All Rights Reserved.
|