Put the Upper Left Wing on the Bench and went over it in detail. Repaired and damage found and checked all joints and alignments. Installed .016 6061 Alum mount on bottom leading edge inboard of the Flying Wire attach point. Created mounts on this (side by side) for the Pitot/Static Tube and the AOA Probe. Installed Polyvinyl Tubing for each of these and secured those runs to the front of the Main Spar to exit in the root of the wing. Insured they would not rub or chafe on the inner sturucture of the wing. Added build-up to the Wing Bow as was done on the Rt upper Wing to use as a mount surfact for Lights should I ever decide to install them.
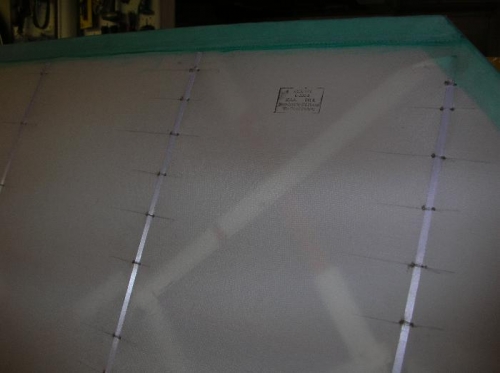
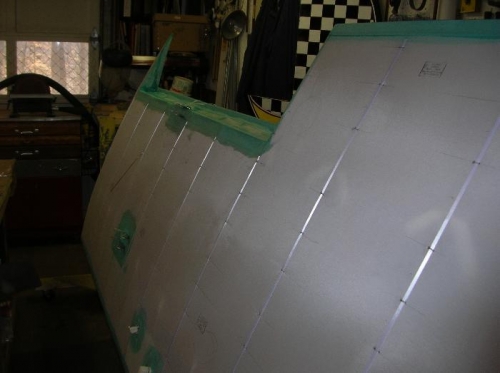
Mounted the Wing on the Turn Frame and began the Covering process. 1st the Aileron Bay area and the Root end, then the bottom fabric followed by the top fabric. All was Heat shrunk per instructions. Rib re-enforcement tape was applied to all rib surfaces and all ribs were rib-stiched. Stiches on the two inboard ribs are reduced by half in spacing to protect in the Prop Wash area. All other ribs are standard spacing.
Tape was applied to the trailing edges as all other tapes overlap these. Photo's below show this work.
Rib Stiching
Rib stiching - shows wide spacing on no prob wash area