As I mentioned, only 5 of the 6 blocks were sent correctly. I don’t blame Safari since from a galloping horse you can’t tell the difference. They all look the same and it was clearly just picked and pulled from the supplier incorrectly. Delane dropped it in the mail on Saturday, and I will need to install it next week. We can still finish everything else associated with the installation.
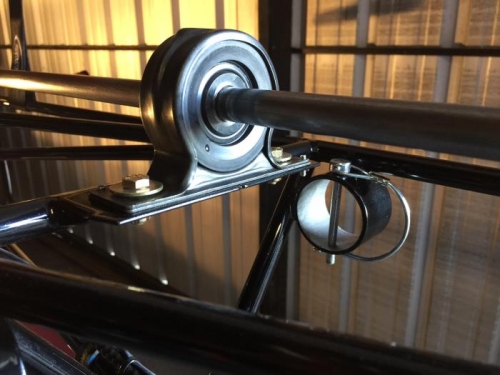
The bearing block installation process is actually pretty sharp. You use ¼” bolts and holes on the tail boom, but the bearing blocks have large holes that allow them to move around in order to accommodate the precise alignment required of the installation. Once the blocks are in place, you secure the internal steel collar to the shaft with two setscrews. The collar bearing is held by a rubber mount, which is then held by the frame of the bearing block.
Once all of blocks are bolted in place onto the tail boom, and you’re confident with the alignment, you then drill a 1/8” hole on each side of the block for the installation of barrel pins to lock them in place and to ensure the same exact installation after the shaft is removed and replaced for painting.
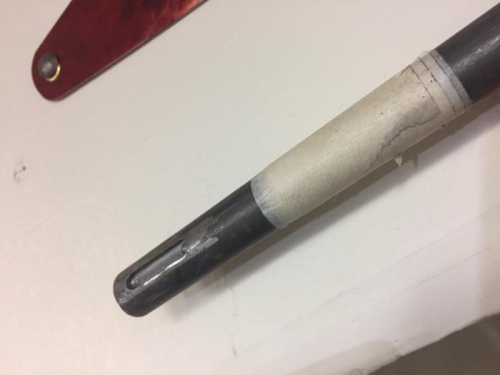
The last connect I made was the connection to the transmission with the orange love joy connector that is basically a damping joint to further protect the system. The tail rotor side uses an interlocking connection that is insulated with a nylon sleeve. There is one thru-bolt drilled through the shaft and sleeve that was welded in place.
Everything is installed and ready for the last bearing once it arrives.