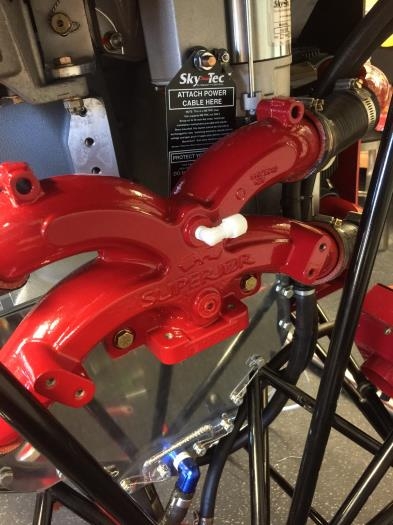
I made the connection for the manifold pressure gauge and plugged the bottom hole in the manifold. I also found a red paint that is a pretty good match for the faces of those areas that I left without powder coating.
I installed all of the spark plugs which required a special adapter to accommodate the size of the holes in the aircraft engine. Pursuant to the engine manual, I also carefully gapped the plugs to the required specs.
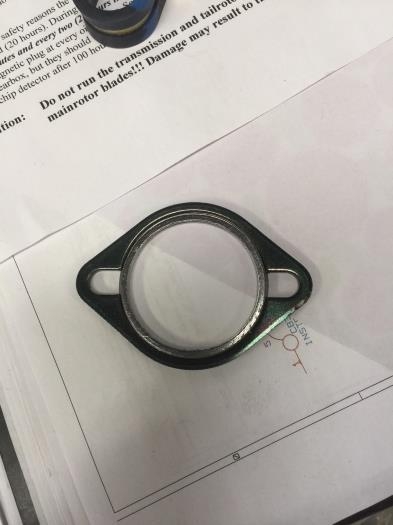
The first section of the exhaust can be installed prior to the tail boom installation, so I decided to tackle that now. Each of the exhaust pipes come with a hard seal that crushes against the engine once you tighten it down. I loosely installed the pipes while I fitted the lower sections together and made sure that the muffler and heat exchange sections fit properly.
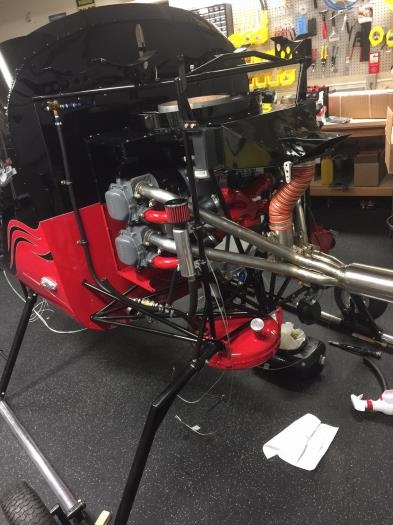
The tabs between the exhaust pipes and the muffler were not great and required a significant amount of bending and adjusting to mate together. Even with all the adjustments, one of the lines could not be matched to each other’s holes, but I was able to relocate a new hole and secure the fourth pipe. The muffler will be removed before the tail section is installed.
I also was able to install the heat exchanger which will bring warm air in to the cabin if the airflow is diverted inside the cooler hood. The orange hose will also be added to the lower section and connected to the cabin.