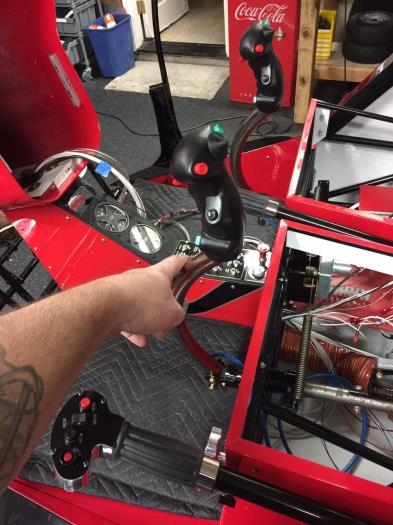
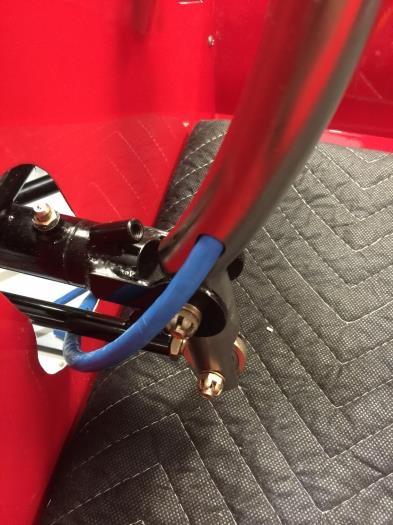
This is another one of those cool tasks that has a big visual bang for the buck. Today it was about installing the cyclic controls, including drilling the holes in the sticks and routing the wire bundles.
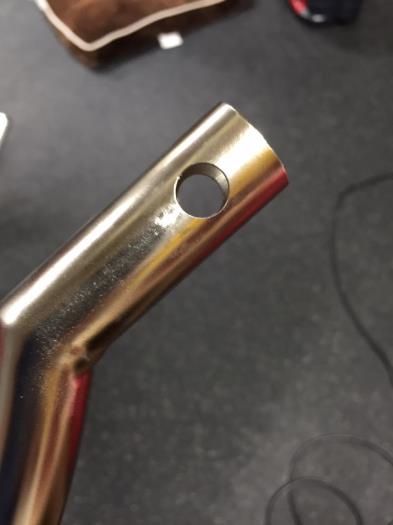
In order to avoid pinching the wires with a hard turn at the transition between the cyclic arm and aft kick panel, you’re required to drill an exit hole in the stick. I used a bit large enough for the wire bundle, then reduced the bit one size and tapered the hole to match the exit of the wires.
The cyclic grips have a internal protrusion that requires you to drill another center hole in the top of the cyclic stick for installation. This allows the grip to have more stick material inside, and prevents any movement of any kind. There is also a wire protection sleeve to cut and install to prevent any chafing or pinching of the wires. When drilling this hole, it is critical that it’s made perfectly in alignment with the mounting holes for the cyclic stick to the control arm at the base. If it isn’t, the stick will not be square. I ran too long bits up though the bottom holes and then lined them up with the drill press making the hole for the grip. Not sure it could have come out any straighter.