
|

|
|
|
Christopher's Web Site
|
Date: 12-1-2016
|
Number of Hours: 2.50
|
Manual Reference:
|
Brief Description: Fuel Sensor Probe Installation
|
|
Again, I wasn’t looking forward to this part of the tank installation, but it went pretty well using the instructions that came with the fuel probes.
First, you needed to place the probes into the tanks and position the top exactly where you want them to be, including the orientation of the wires used for power and readings. It’s important to use the gaskets because it gives you some friction so the probe heads don’t slide around while you’re trying to mark the holes.
Once the probe is where you want it to be, you need to simply scribe the holes with a dental pick and then remove the probe for the drilling and tapping of the tank.
It’s critical to be VERY careful when drilling and tapping because the tank material is very soft, and very thin. I got lucky and all of the holes went well. It’s also important to mention that the probe mounting holes are not evenly spaced, so you can only install them one way, and one way only. I used some fuel proof gasket sealant between the tank / gasket, and gasket / probe. Also, once in place, DO NOT over tighten the mounting screws. I was careful and got lucky…no issues, and everything is installed and sealed.
Another thing to mention is all of the metal that is going into the tanks during this process. I used both a vacuum and compressed air to clean the tanks, but with the baffles in the tanks, I can’t be positive that I got everything out. I will need to flush them to be sure, but I’m going to wait to the end to do it so I only have to do it once.
|
|
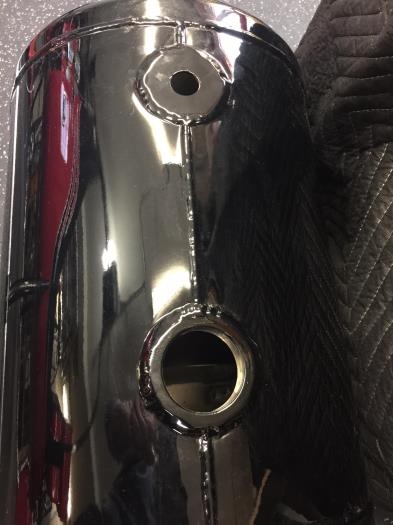
Top hole is for sensor
|
|
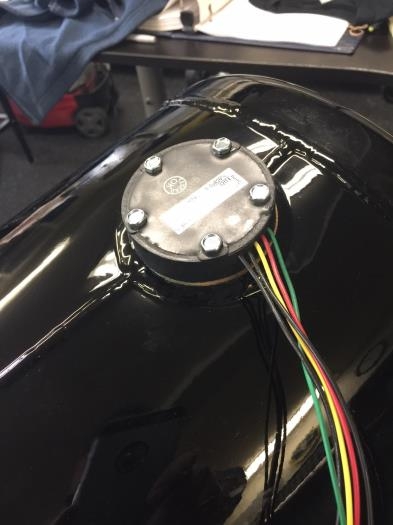
Drilled, tapped, sealed, and installed
|
|
|
|
|
|
|
|
|
Copyright © 2001-2024 Matronics. All Rights Reserved.
|