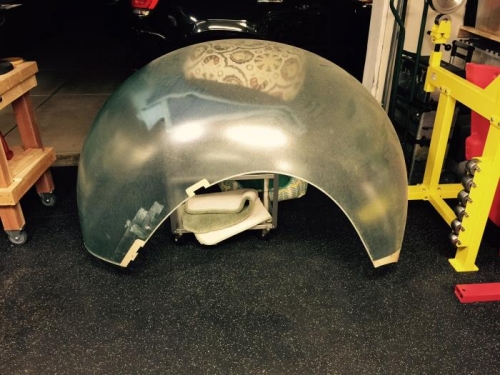
This day has been a long time coming. I have had the bubble in my way, resting on a bunch of pillows on top of a rolling cart for a year and a half waiting to install it on the helicopter. I was just hoping and praying that there were no scratches and that I didn’t have the same issues removing the protective coating like poor Bill Johnson did on his first bubble.
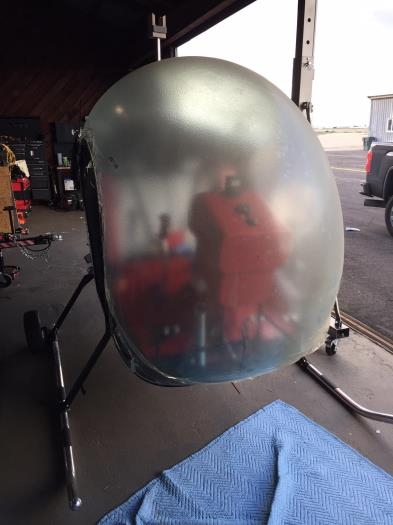
Tom and I got the edges clear so that we could mount it in the frame but still leave the rest of the cover in place until it was secured in place. I found some old photos I took of the securing clamps that are numbered for their position left to right, and also top and bottom. They were all loose and where they needed to be.
Tom took one side and I took the other, and moved it into position. The bubble hadn’t been installed since I made the doorframe covers that were designed to be manipulated into position while installing bubble. There were a few sticking points, but for the most part, it went right where it needed to go. The next phase was actually securing it in place, which was my task.
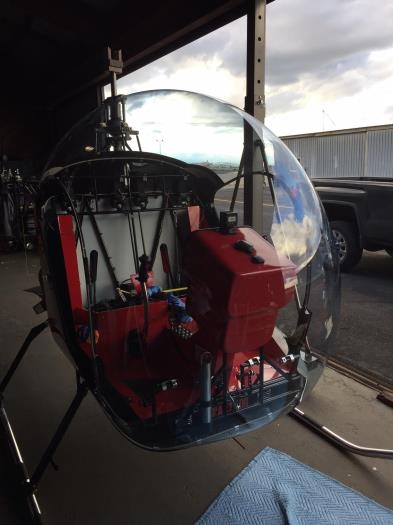
All went well with the exception of one of the clamps coming loose and sliding under the cabin floor. I think pretty much every other Safari over would be screwed because there is no way to get under the floor, but I installed two access panels that allow me to get wherever I need to.
Taking the rest of the protective material on the inside and outside literally took about 10 seconds! It was like taking a sheet off a messy bed! (Sorry Bill!)