My buddy Super Tom from PA has been nice enough to laser cut an instrument panel designed to the specific avionics and configuration that I have decided on for my instrument pod. Due to the fact that the pods are like snowflakes due to the fabrication process, I’m pretty sure that no two panels will fit exactly the same and be interchangeable between Safari pods.
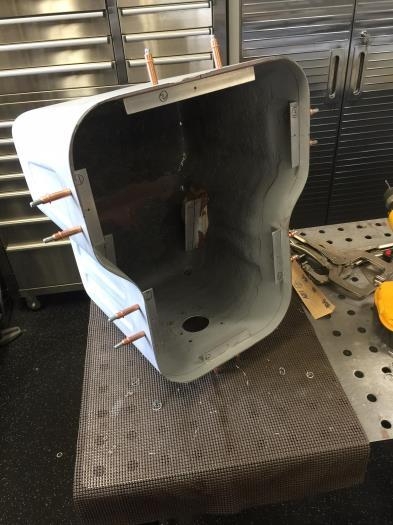
As a result, I decided to carefully make an instrument panel blank that I can use as a template to make the final size of the panel that Tom is sending me. Rather than using cardboard as with all of the other templates I have made, I have used thin aluminum sheet metal so it will give me the most precise fit. I’m using the same thickness and the exterior skin of the ship, so it should work fine.
The Safari builder’s manual actually covers the process of fabricating the 3Ž4” panel angle stops fairly well. Unfortunately, I didn’t receive the materials the manual recommends I use, so I had to wait a few days for the aluminum and nut plates to arrive from Aircraft Spruce.
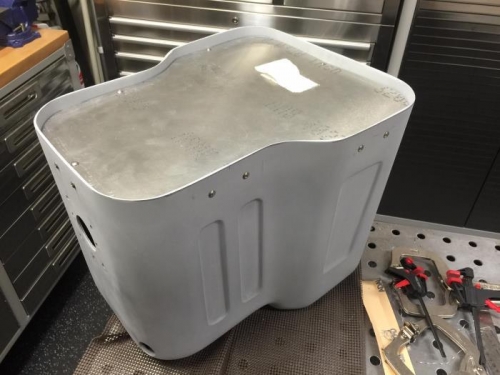
I cut the pieces to length using a metal chop saw and finished of the burred edges with a Scotchbrite wheel and file. The precise position of each bracket needed to carefully locate the screws with the identifiable landmarks of the recessed areas of the pod. This allowed me to make the holes symmetrical all the way around the pod.
Each piece required at least 3 nut plates, and each needed to be counter sunk prior to riveting. I used my normal system where I had 5 drills set up for the nut plates:
1. Counter punch marked hole 2. Drill hole to size of nut plate jig (Drill #1) 3. Drill #40 holes for nut plate (Drill #2) 4. Enlarge screw hole to 1Ž4” (Drill #3) 5. Countersink for rivets (Drill #4) 6. Debur holes 7. Cleco nut plate in place 8. Rivet nut plate 9. Chase nut plate threads with tap (Drill #5)