
|

|
|
|
Christopher's Web Site
|
Date: 9-24-2015
|
Number of Hours: 6.00
|
Manual Reference:
|
Brief Description: Console Nut Plates
|
|
Okay, time to begin installing the nut plates, and there are going to be a ton of them. I’m starting first however by riveting the angle support frame pieces to the front console panel. As you can see in the first photo, I began by drilling out and upsizing each of the #40 holes (silver clecos) to #30 (1/8”) holes (copper clecos) to accommodate thicker rivets. I was able to use rivet squeezers to install many of them, but I had to use the rivet gun on the balance.
With the help of the advice from my PA buddy Tom, I was able to complete the riveting without damaging the panel, and it is ready to install. I will eventually rivet the lower brace to the bottom supports, and then rivet the bottom supports to the floor. I need to install the access panels on the floor panel first.
I also needed to order and install a few custom nut plates for holes that are too close to the edges of the panels. One style is a corner (90 degree) nut plate, and the other is a nut plate that has two of the fasteners in tandem rather than on each side of the plate.
Another new step I had to do was to cut down rivets to the proper size with rivet cutters, as shown in photo #2. Each diameter rivet has a specific length that it must protrude through the sum of the panels being riveted. You use a gauge to measure the correct size, set the depth of the cutter, slide in the long rivet, and cut. It doesn’t take long at all, and the sheared end has a good finish. You would never know that they are individually cut.
|
|
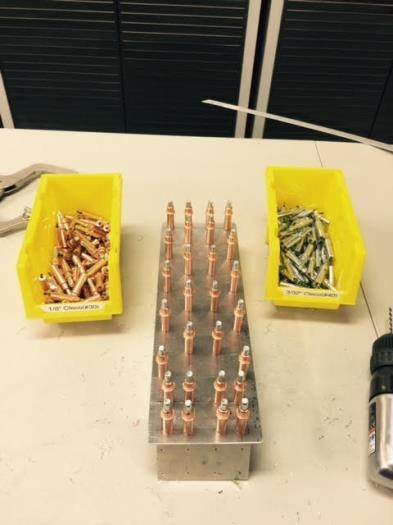
Upsizing rivet holes
|
|
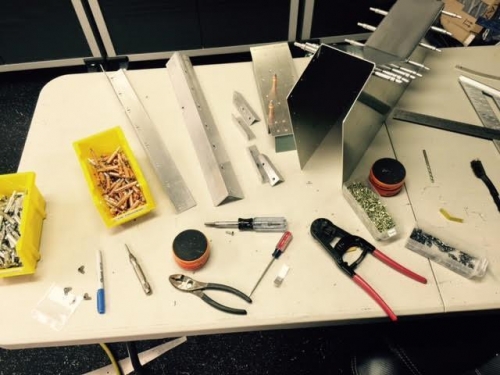
Cutting down rivets
|
|
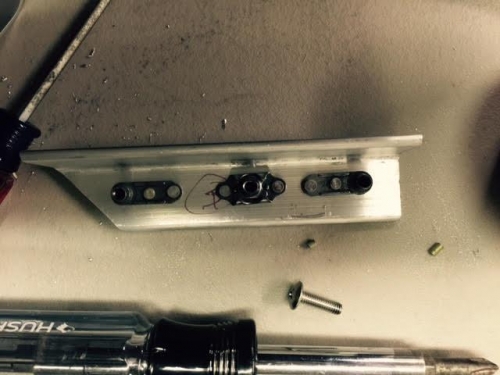
Special nut plates
|
|
|
|
|
|
|
|
|
Copyright © 2001-2024 Matronics. All Rights Reserved.
|