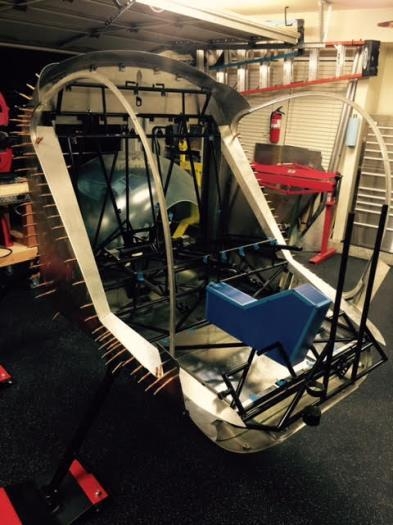
I prepared the bubble for removal by removing all of the clips with the exception of the fore and aft mounts. I rearranged the shop to allow for a place to locate the bubble out of the way and in a safe spot.
My buddy Tom in PA helped walk me through the removal process over the phone and gave me a good idea of what to expect. He was exactly correct with both his recommendations and the description of what I was going to be dealing with.
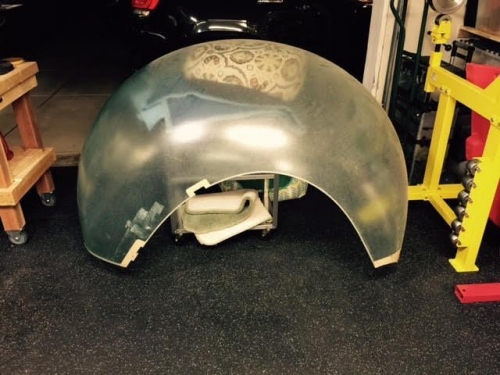
My wife Dawn helped me remove the bubble and we carefully placed it on the floor where it immediately deformed with the lack of structure. It is very flimsy without a frame holding it in place so I decided to build up my rolling cart with a number of cushions and rest the bubble on a nice padded and stressless support foundation. We positioned the bubble on the cart so nothing was touching the ground and I can actually move the bubble around the shop on wheels. This couldn’t have gone better. Thanks for the help, Dawn!
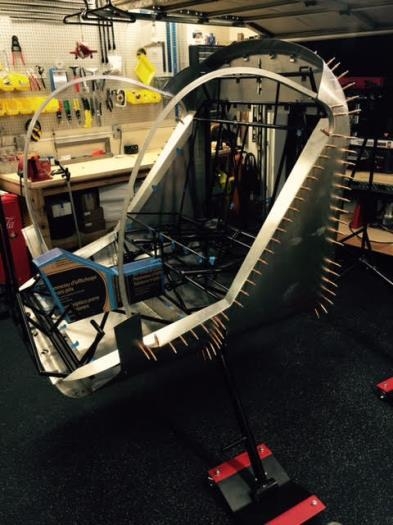
One last thing to mention is that the work over the last few days has taken what looks like the begining of a helicopter and has turned it back into something that looks like what came on day one. It's hard not to feel like I am once again going the wrong way, but this is a critical step in the construction process, and I have to keep in mind that I will be reassembling soon.
Tomorrow I will begin the removal of the rest of the skin, and I can spend the weekend installing nut plates. Oh joy!