Brief Description: Installed Pneumatic Shock Hard Points
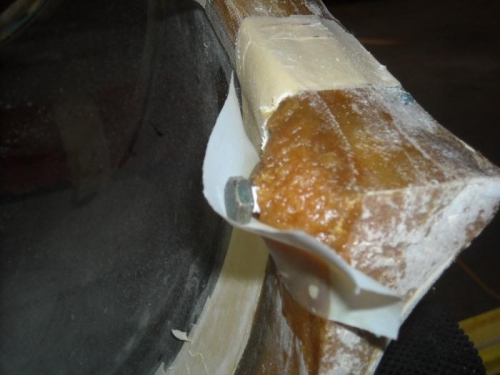
See Image #1: Mounted the Canopy Bow Pnematic Shock hard point in a bed of flox using a bolt of hols the Nut in place. I wrapped the Bolt in Teflon tape to ensure it doesn't get floxed into place and can be removed after it cures.
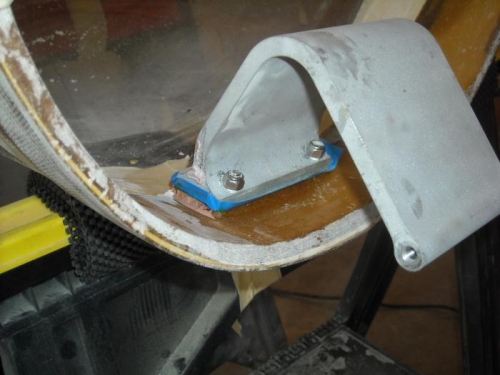
See Image #2: Floxed the areas in the Canopy Hunge mounting bed that needed additional Flox from the initial positioning and mounting. There were several voids and the bolts needed additional flox to ensure they were securely bonded in place. I wrapped the Hinge in Plastic tape to ensure it wouldn't bond in place. Still need to counter sink the Button head bolts on the top side of the Canopy Bow to ensure they don't protrude into the slip stream
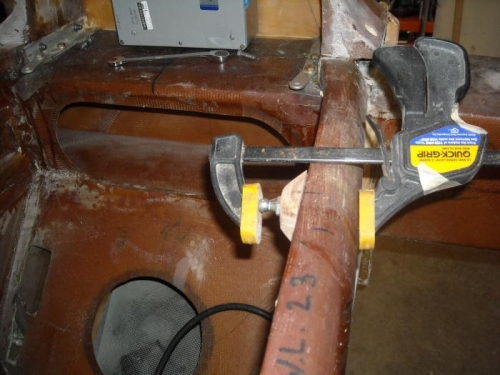
See Image #3: Like the Front Canopy Longeron pneumatic Shock Hard Point Mount, I used a peice of Oak and drilled a hole just big enough for the stud to penitrate it and then imbeded a Nut into the Oak block. This will be Bonded to the longerons and the Pneumatic shocks will be attached.
Canopy Bow Pneumatic Shock Hard Point
Completed Flox Bed for Canopy Hinge
Pneumatic Hard point Ready for Bonding to Longeron