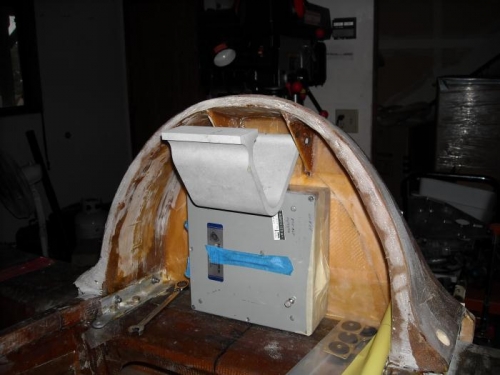
I started the installation of the Rear Canopy Hinge in Mid April and finally completed it. Originally I cut 2 wedges to use as the Hinge attachments and carfully measured the Hight and distance from the edge of the rail for the hinge placement. I then drilled the Bolt holes and prepaired the Phonolic for attachment. I attached it with 2 plys of BID and Flox in the seams on both sides. I was pleased with the outcome and glad that it looked like my ECU will still fit just under the Hinge with the canopy closed... SCORE!. Well then I got distracted with Family stuff and when I returned to the project 8 weeks later, I noticed the Hinge was off about 1/2 a bubble. I'm still not sure how it got off because I thought I had nailed it. ANYWAY, I decided to lower one side enough to bring it into level by elongating the left hole slightly. Once that was completed, I prepaired both sides of the Phanolic and Super glued SS washers on both sides of the Phanolic then used flox to fair in the washer with a thin Flox coat on both sides. I'm pleased with the way it turned out but still can figure out how I was off to start with.... Oh and yes Each time I leveld the Airplane before I leveled the Hinge. Actually the Airplane naturally sits level all the time... I'm quite proud of that! ;-)