Brief Description: Tie down/aileron bell crank bracket
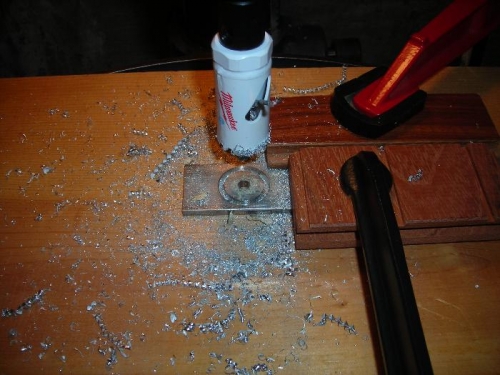
As recommended by other builders, I drilled all four lightening holes in the spacer stock material before cutting the individual spacers apart. In addition, a 1” bimetal hole saw worked well.
I also deviated from the plans slightly and made the spacers the same width as the tie down excursion. I thought that this would make the alignment of the parts easier during assembly and drilling. I picked up a tap and die set from Harbor Freight. I didn’t think that it was possible to screw up a tapping after doing the first one, but managed to just that the on the second tie down. I didn’t have the tap well aligned when I started, and it ended up crooked. I abandoned that hole and flipped it over and used the other side. I was a little worried because I had already marked and drilled the first hole in the tie down, but it worked just fine. I then match drilled the remaining holes in the tie down and spacers using the spar holes as a guide. The rivet holes were drilled using a plate nut as a template with a bolt and spacer in place. The rivet holes were countersunk on one side and then everything was ready for de-burr, cleaning, and priming.
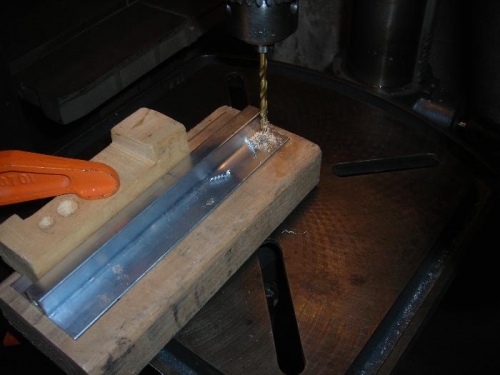
Drilling the locating hole
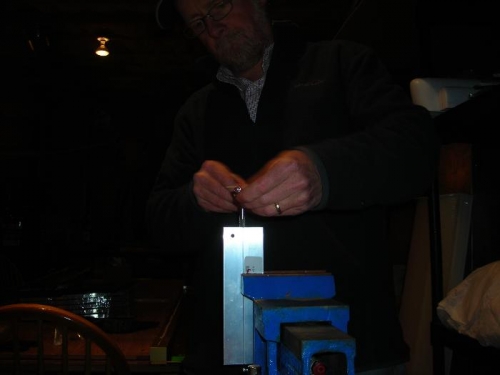
Tapping the hole for the tie down ring
bi-metal hole saw does a nice job in the drill press