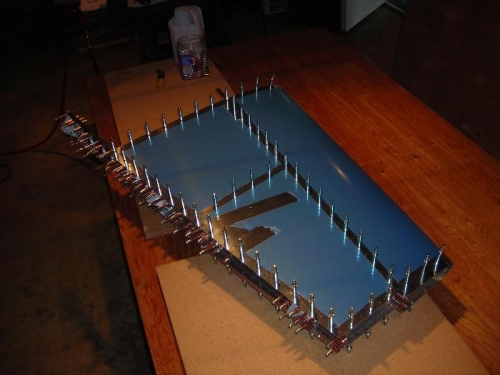
-Removed vinyl strips from rivet lines on the VS skin -Clecoed VS skin on to the spar/rib frame -Drilled VS skin to frame -Removed skin, de-burred the holes, and then dimpled skin -Redo of HS rivets. There were four rivets I was not too happy about when I finished the HS. The four in question join the skin, front spar and the most inboard ribs. Four parts altogether. The plans call out a slightly longer flush rivet here (AN426AD3-4 vs a -3.5) to get through all of those parts. The manufactured heads ended up over compressed in all four locations. -I ended up getting a lot of practice drilling out rivets here. My technique is getting better. Drilling in the exact center of the rivet makes all the difference. I am still starting with a 1/16” bit and then moving up to the #40. I find it a little easier to get the bit centered on the rivet with the smaller bit. On one removal I inadvertently drilled all the way through the rivet. That made it harder to get it all out of the hole. On another, I ended up bending the flange of the rib when punching out the rivet. This one proved to be the most difficult to re-rivet. I think I did it at 5 times! Part of the problem was getting the parts all clamped up and the rivet gun on it at the same time. Also, the same squeezer setting that worked on the other three rivets would over compress this one. Not sure why. I considered stepping up to the next longer rivet (AN426AD3-4.5) to have a little more material to work with on the manufactured head side but never did. Still not happy with this one rivet. The other three are fine now. I set it aside. I’ll take another look at it later.