I started in on the smaller steel tubes today. I used essentially the same process as the larger aluminum tubes. The hole locations were a little less complicated to mark. With just the four holes, a complicated layout was unnecessary. The locations were not dimensioned on the drawing, but were easy enough to just measure from the drawing as the view is shown full scale. I used the spring loaded center punch to mark each hole and give the drill bit a starting point.
I cobbled together a drilling fixture much like the one I used for the larger aluminum tube. I decided that I would need the drill press for these vs just hand drilling them. Drilling the holes were not so easy though. I only had one 1/6th inch drill bit, and it wasn’t very sharp to start off with. The first hole went fine. On the second hole, the drill bit broke as it got close to coming out the bottom. With lots of boelube and two #40 bits worn out, I was finally able to drill out the 1/16th bit. I finished the holes off with a #30 bit drilled by hand. The burr on the exit hole was impressive.
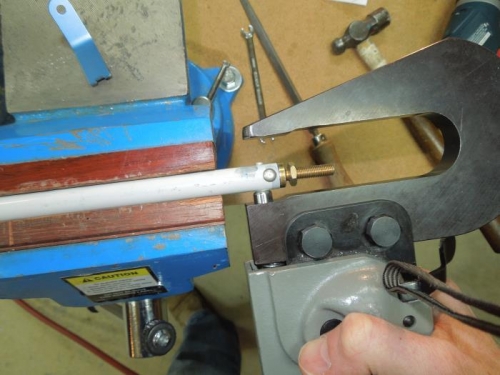
I managed to get two -11 solid rivets set. The plans call for -12 length rivets, but they were too long per my rivet gage. Also, I had to use my “no-hole” yoke to get the required reach to squeeze these two rivets. I was worried about bending the rivets over with one big squeeze, so I progressively set these with three different settings. It looks good.
That’s all I did today. I need some more drill bits.