
|

|
|
|
ROBERT'S WEB SITE
|
Date: 4-26-2015
|
Number of Hours: 4.00
|
Manual Reference:
|
Brief Description: Fuel tanks finished!
|
|
Ever since completing the leak test on left tank (way back when), both tanks have been pretty much sitting on the bench and I haven’t done anything with the right tank at all as far as leak testing. The leak test on the left tank found leaks only at the balloon tie off and around the tape over the fuel cap. In my desire to see the balloon remain inflated for a long period of time, I have been futzing with both of these leaks off and on for months to no avail. I have re-taped the fuel cap several times and even built a 3/8 tube stub for the fuel inlet in order to get a good balloon interface. In every attempt to seal up these two areas the balloon would only stay fully inflated for a few hours. Long term it would always hold some pressure, but not the full balloon inflation.
So, just to be sure, I took one more shot at re-sealing both of these areas, inflated the balloon, and did the full leak check again on the left tank. I got the same results. No detected leaks except around the tape (a double layer of duct tape and packing tape) and the balloon. I’m calling this one good.
Next, I moved on to the right tank, sealed it up, inflated the balloon, and did the leak check with soapy water out on the driveway. Similar to the left tank, all the rivets, seams, bulkhead connectors, and the access plate showed good. The balloon interface leaked, the tape around the fuel cap leaked, and the vent fitting cap leaked. I’m calling this one good too.
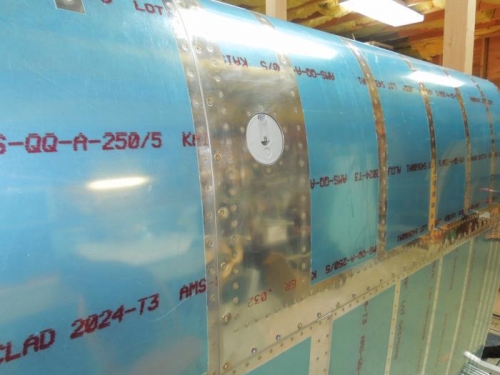
Finally, I placed both tanks on the wing and was able to partially attach the left tank per the plans. The bottom of the left tank skin did not match up well with the leading edge – slightly overlapping the leading edge skin. It was just fine before sealing and riveting everything together so it must just be some slight distortion from that process. The overlap was very small. In any case, this was quickly fixed by filing the edge down slightly. The plans call out inserting every other attach screw, which I followed on the trailing edge. But I put in every
|
|
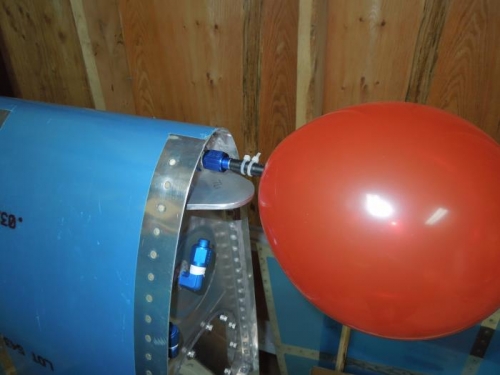
My fancy (leaky) balloon fitting
|
|
Slight "puckering" on the upper surface
|
|
|
|
|
|
|
|
|
Copyright © 2001-2024 Matronics. All Rights Reserved.
|