
|

|
|
|
ROBERT'S WEB SITE
|
Date: 1-1-2015
|
Number of Hours: 2.00
|
Manual Reference:
|
Brief Description: Close up the Right Tank & prep for Left tank baffl
|
|
This was a good day. The Right Tank is sealed up. After some cure time, I can do the leak test.
A familiar process, scuff, clean, mix, butter, install, and fillet.
As others have done I used stainless hex screws and washers for this instead of the supplied screws. McMaster Carr carries them. Twelve for each side. They come in boxes of 10, so you need three to do it. Nice stuff but a little spendy.
Part no: 92200A194 - Military Specification Socket Head Cap Screw, 300 Series Stainless Steel, 8-32 Thread, 1/2" Length, MS 16995-26, Packs of 10
Part no: 90107A010 - Type 316 Stainless Steel Flat Washer, Number 8 Screw Size, 0.174" ID, 0.375" OD, Packs of 100
Finally, I got everything ready to go for installing the baffle in the left tank for tomorrow. I went over the counter sinks in the tank skin (made them a little deeper), sealed up the access plate ring, and layed everything out.
|
|
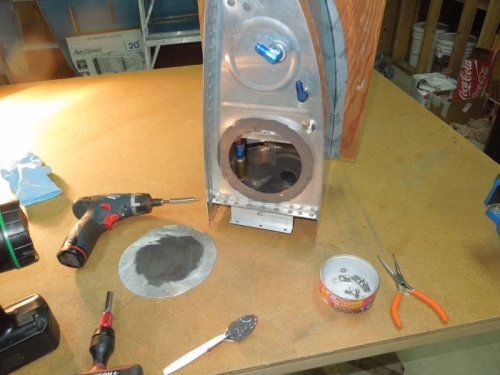
Ready to go
|
|
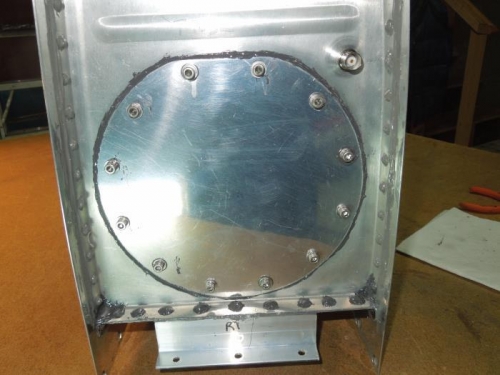
Done!
|
|
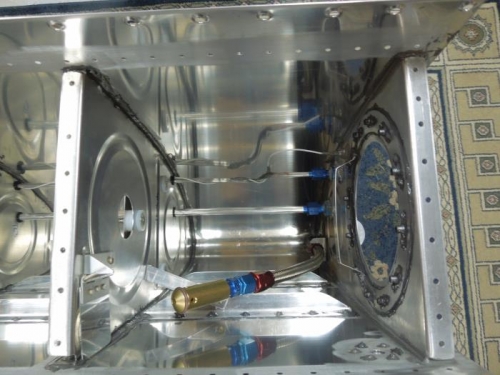
Ring sealed up and ready to go
|
|
|
|
|
|
|
|
|
Copyright © 2001-2024 Matronics. All Rights Reserved.
|