Brief Description: Baffle installation - Right Tank
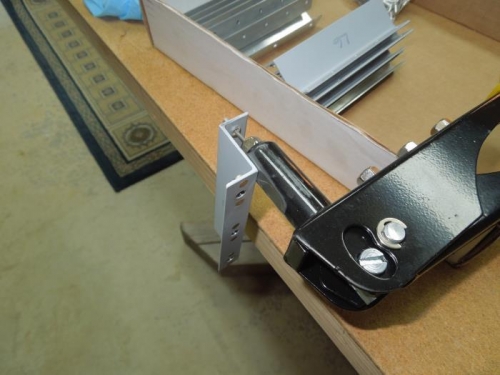
Long, long day, but I got it done. I started with a quick mode to a Harbor Freight rivet puller with the grinder so I could set the rivets on the Z brackets.
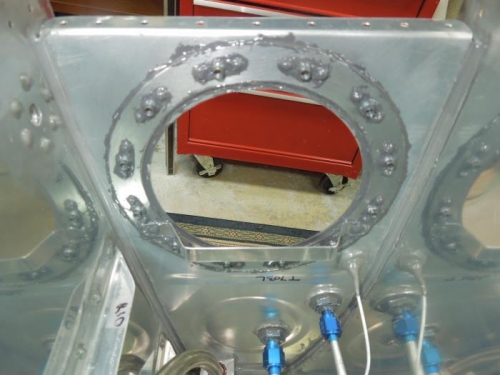
Then I mixed up a small batch of sealent to seal the access hole ring and nutplates. I should have done this before riveting this rib in.
Then it was a 60g batch of sealant for the baffle. I smeared a thick line at and below the rivet line to help form the fillet on the inside. Then it was sealant on the rib ends and the baffle flange.
I then inserted the baffle and 100% clecoed the skin to baffle holes.
Then I mixed more sealant and put on the Z brackets and clecoed. I then pulled the rivets for the rib base flange to baffle and Z brackets.
I then started in the middle on the bottom side with the squeezer and flush rivets. The first three heads stood proud of the skin! Despite my careful counterskinking efforts before, I guess I didn't go deep enough. So out came the counter sink cutter in the cordless drill. I ended up doing every single hole and this did slow me down.
For the end ribs, I was able to do all but five with the squeezer. The inbloard rib Z bracket prevented access so I did those with the rivet gun.
I finished the night using up the remaining sealant on the shop heads.