Brief Description: Right Tank systems installation and inboard rib ri
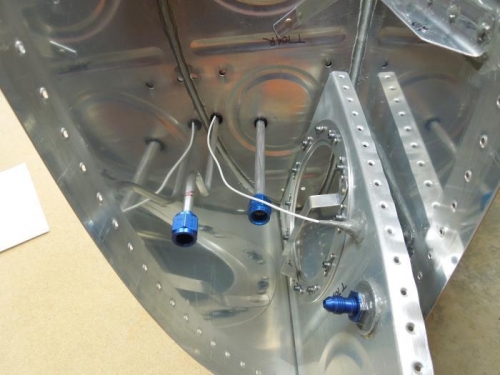
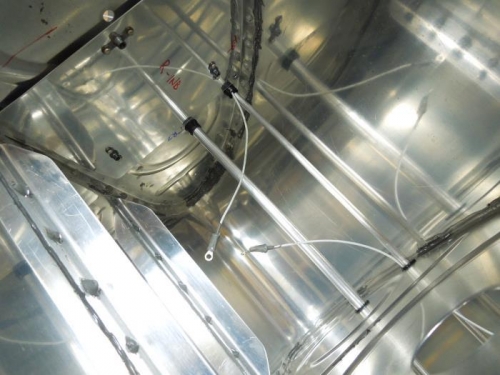
I did the final installation of the outboard capacitive plate and threaded the wire through the vent line bushings. I scuffed up the rib flange and wiped it down with MEK. I loosely placed the inboard rib in sideways and threaded the capacitive wire through the vent line bushing into the second bay. I’ve deviated from the plans here and have already terminated both ends. I still think I can do it this way. We’ll see. I then installed the vent line and threaded it through the fuel cap clip. I also installed the fuel return line.
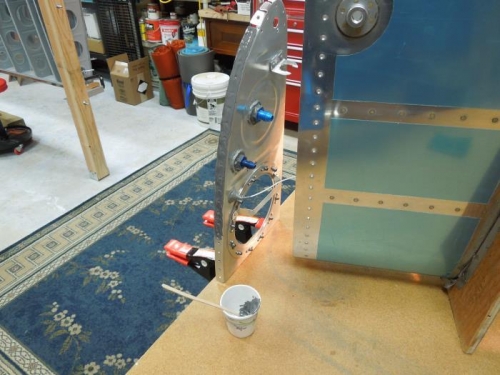
I mixed up some sealant and applied it to the inboard rib and then clecoed it into the tank. Starting at the nose, I started riveting with the squeezer. I had to switch to the long reach no-hole yoke to get the rivets next to the fuel bulkhead fittings and BNC connector. With the remaining sealant I applied a filet seal on one side and covered the shop heads. There were two or three rivets that I think I’ll drill out later. The manufactured heads are sitting proud of the dimple.
To go before the baffle goes on: Final torque vent and return line connectors, connect wires to inboard capacitive plate and seal, install inboard capacitive plate, wrap wires around vent line and seal, seal/rivet in angle and doubler for inboard rib nose, drill out and replace any bad rivets, final fillet seal and touch up.