First I finished up the fuel return line installation for the right tank. I needed to cut the line to length and flare the inboard end. A trial fit with the inboard most rib looked good.
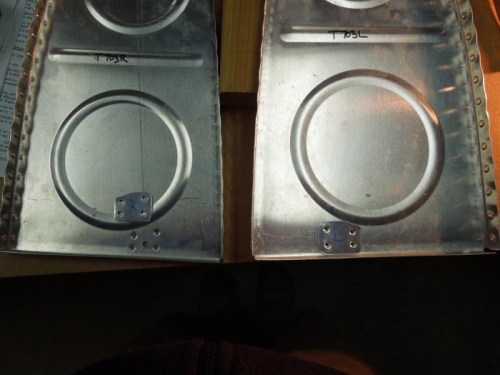
Next, I fabricated a couple patches to cover the tooling hole in each outboard rib. I think the usual approach to this is to squeeze and seal a 3/16” rivet in this hole, but I forgot to order some in either of my recent Vans and Spruce orders so the patch will be the way to go. Nothing complicated - four #40 holes for flush rivets, deburred, and dimpled. I did both the left and right outboard ribs.
I mixed up a small batch of sealant for the patches and the vent line clips that attach to the fuel cap ring. For some reason I was thinking that it would be easier to do this now rather than when I was riveting the fuel tank filler ring. I guess I was thinking that I would insert the vent line first and then rivet it, who knows… Next I scuffed up and cleaned all the relevant surfaces with MEK. I squeezed the rivets for the patches and used the 2X gun for the clips.
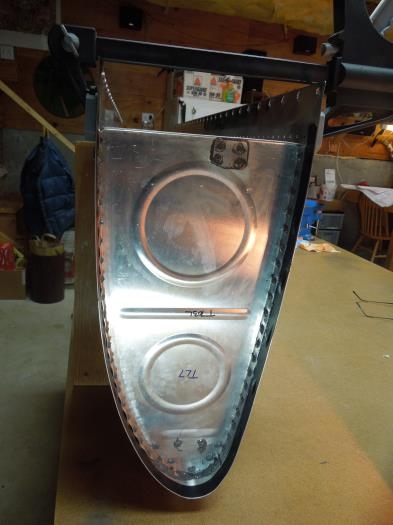
The last task for the day was riveting the most outboard rib. Scuff and clean first. Then mix more sealant and apply to the rib flanges. I inserted and clecoed the rib, and then squeezed all the rivets. I had a little bit of trouble getting a few of the most forward upper rivets to sit straight in the holes. Tapping the rib helped get it aligned. For one hole I had to run the drill through it to get the rivet in. I had just enough sealant left over to cover all the shop heads and do just a bit of the required fillet seals.