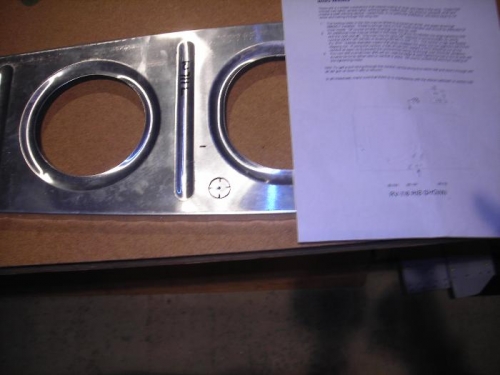
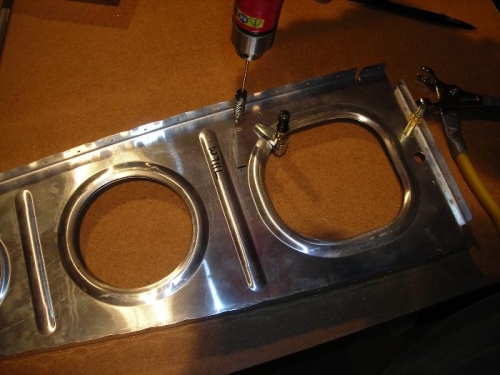
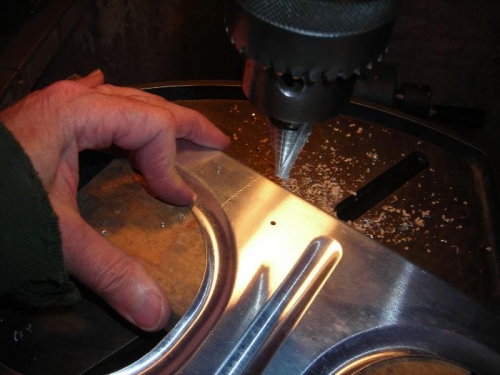
Still not sure what all will require wiring in my wing configuration. To start, I decided to add the ¾” hole offered by Van’s in their options for wiring advice sheet. This is to hold the plastic conduit they offer. I decided to do both wings root to tip through each rib. Van’s pdf is not very specific about the exact hole location – “lower 1/3 of the rib between the two large lightening holes”. I located the edges of my ¾” hole about 7/16” – ½” from each stiffening bead and the lower flange. I marked and drilled a #40 hole in this location and then used this as the template for drilling the remaining ribs by clecoing the template rib through the tooling holes back to back with each remaining rib(you actually need a L and R rib template). I got this idea from another builder’s web site. The more common approach seems to be to build a drill template from cardboard. After drilling the pilot hole I used my step drill bit in the drill press to open each hole up to ¾”, then debur with the edge tool, and then finish it off with a worn out 1” scotch brite wheel. I started on the right wing ribs and got through maybe half of them.
Van's recomended location
Ribs clamped back to back as a template
Opening it up with step drill bit in the drill press