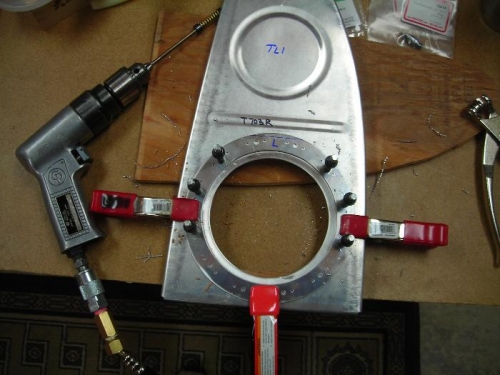
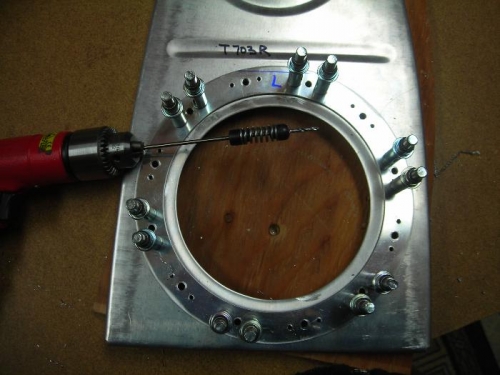
I traced the “flat” on the otherwise round access plate onto the ring doubler after lining the screw holes up. I then placed the ring on the rib and aligned the “flat” with the rib and “eyeballed” the ring alignment to the new fly cutter hole in the rib. I clamped it up, and then drilled #19 the screw holes into the rib, placing clecos as I went. I then added the access cover plate and matched drilled the screw holes. I removed the cover plate, and switched to a #40 drill bit and match drilled all of the plate nut rivet holes in the rib. I disassembled and deburred all the parts. I then dimpled the rivet holes in the rib, and countersunk the ring. I had to set the countersink fairly deep to get a good flush fit with the ring. I then did a quick scrub with the scotchbrite pad and riveted on the plate nuts.
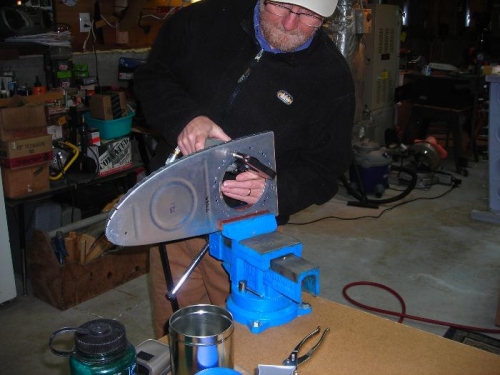
I got the left rib assembly complete, but quit before riveting the right.