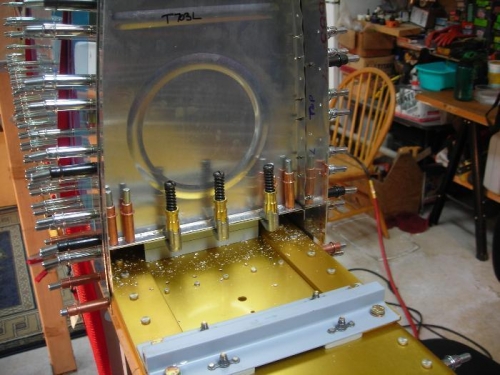
With the right tank assembled, I positioned it on the wing assembly and then strapped it down. The skin alignment looked good all the way around. I put a few copper clecos in the skin to spar screw holes. Per the same procedure I used on the left tank, I then:
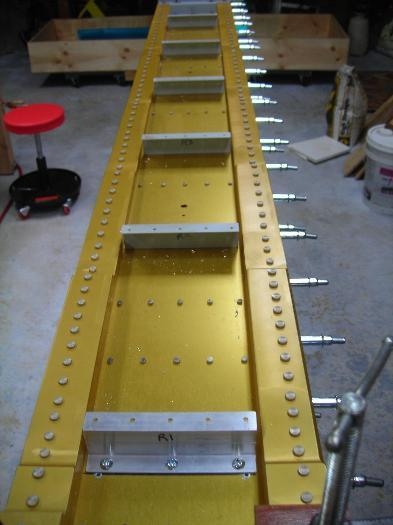
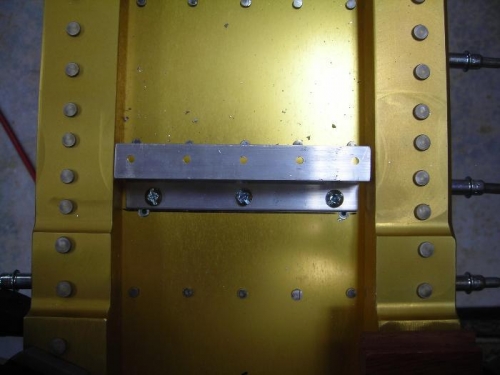
-drilled the splice plate holes, first #30 and then to full size #19 -match drilled the inboard z-bracket from the rib holes with the 12" #30 drill bit -Removed the outboard leading edge minus the splice plate and inboard rib -put a couple extra cleco clamps on the outboard z bracket/rib -removed the leading edge rib and splice plate -match drilled the outboard z-bracket from the rib holes with the 12" #30 drill bit -match drilled both the inboard and outboard tank ribs to the skin holes -removed the right tank minus the baffle and the inboard and outboard ribs -match drilled #30 the remaining z-brackets from the baffle holes
I then cleaned up a bit and re-assembled the right tank on the bench. This went a lot quicker the second time around.