Brief Description: Right Tank Assembly & Z-bracketes
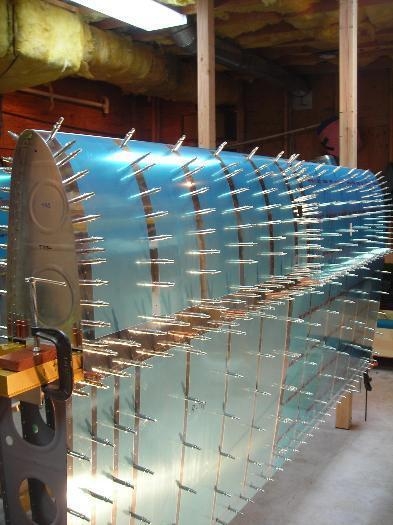
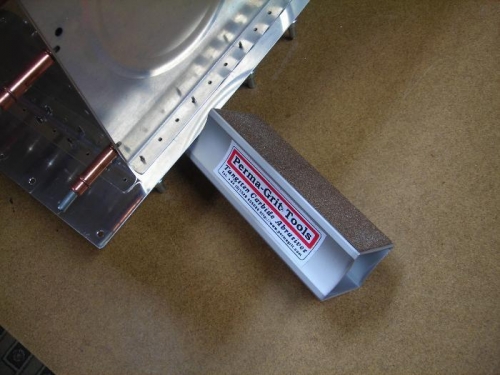
De-vinyled the right fuel tank skin and baffle. I already had the right side ribs prepped, marked, and ready to go. I used my new permagrit sanding block to take off the shear marks on the baffle edges. I finished them with the 2 in scotchbrite wheel in the die grinder. I then clecoed the tank together and edge finished the tank skin edges the same way. The permagrit block works pretty well.
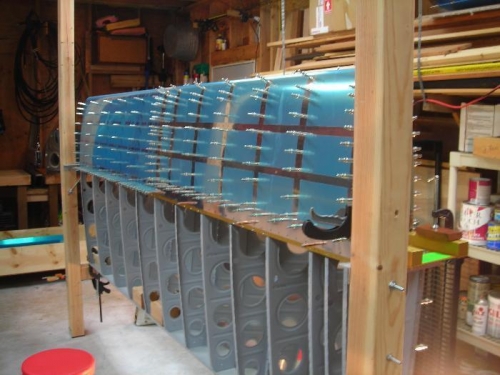
I used the same approach for assembling the tank as I did on the left side - inserting the first couple clecos for each rib with the skin open, and then placing it in the cradle to complete. It is a pain to get the first ten or so clecos in each rib. I'm a little worried about the struggle to assemble this thing when smearing pro-seal at the same time.