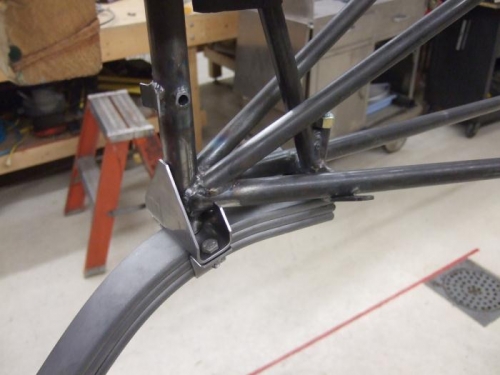
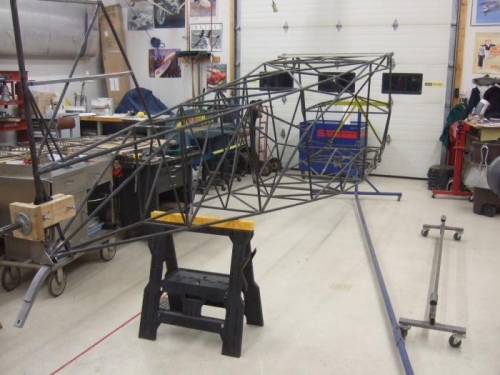
Not much time in the shop today but I was able to finish fitting the tailwheel spring bracket and getting it ready to tack and weld. I cleaned all the surrounding tubing and made sure it was level to the fuselage. The next step is to ensure the spring centerline is along the centerline of the fuselage. What is neat about my rotiserrie is the u-joint up front. I', able to leave the front attached and swing the rear out of the way for the alignment process.
I'm going to have a string on the floor and three plumbbobs on the fuselage. Two will align the fuselage to the string and the third will be dropped off the end of the spring to align it. It is real similar to what Eric Newton did, but he did his by snapping a chalk line on the floor. The string will work just as well. I'll do that this weekend.