Brief Description: Mounting the Control Stick Assembly Part 2
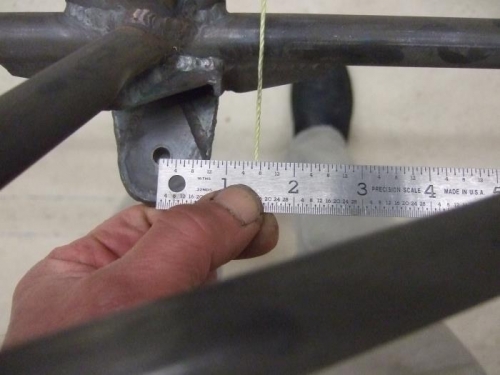
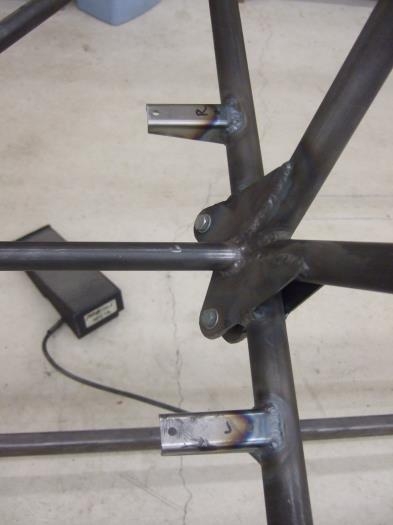
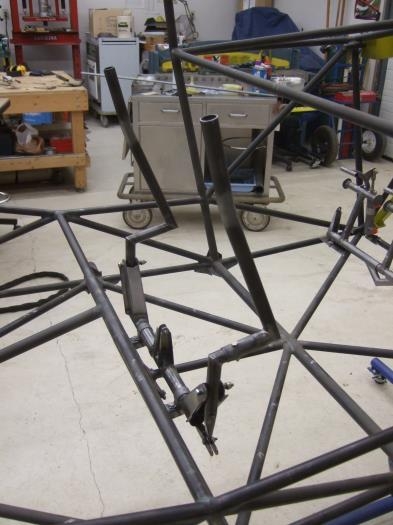
There were three ways I could go. I could trim the front of the mount to just get rid of the front hole, drill new holes and weld up the aft hole, make new mounts or I could just leave the holes as-is (because they are match-drilled) and trim the back…and that’s what I did. I first clamped the stick assembly on the tacked mounts to a better location and measured how far back I needed to trim, using the cable run as a guide. I then just popped off the tacked stick mounts and took just a little more than 3/8ths off the backside and refit the coping to the 1inch tube. I re-clamped everything because the marks were still there and the L/R were still on the mounts. Once tacked, I replaced the stick assembly for one last check and it was good. I took it apart for the last time and welded the mounts in place. Now the cable hits the later to be mounted pulley at the proper location. On to the elevator belcranks.