Brief Description: Rudder Parts Primed, Beginning Assembly
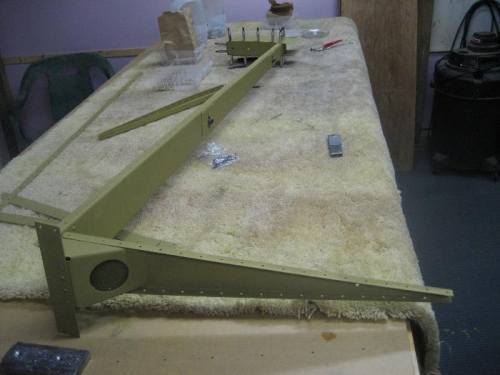
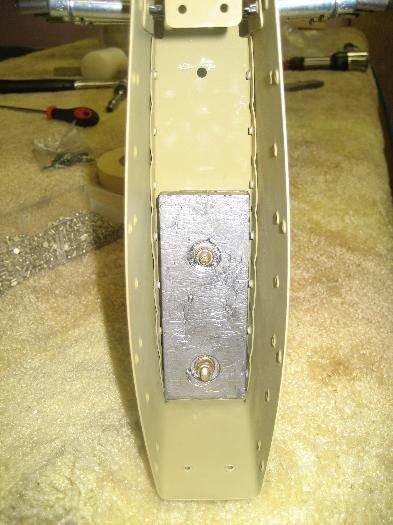
Started the day by prepping the rudder parts for priming. By the afternoon they were dry and I primed them with VariPrime. Later that night I began riveting the reinforcement plates and platenuts to the spar, followed by the bottom rib and rudder horn (bottom left of the 1st picture). It was a tight fit to get to all of the rivets in and around the rudder horn. I was able to use the pneumatic squeezer for some and the rest I got to with the rivet gun and bucking bar. Next I installed the lead counterweight in the counterweight rib (2nd picture). The purpose of this weight is to counteract the force of the rudder and make it more balanced. Finally I cleco'd the rudder skins to the understructure and called it a night. Riveting the skins to the understructure and preparing the rudder trailing edge will be next.
Rudder Spar, Horn, Reinforcement Plates, Plate Nuts, and Ribs Primed and Assembled
Lead Rudder Counterweight Installed in Counterbalance Rib.
Left (bottom) Rudder skin cleco'd to the Rudder Understructure