"Today I rechecked everything for plumb on center line and checked plumb at station J to K. Some minor adjustment and everything looked good. I then checked that the bottom longerons center intercept with the tail post was 21-7/8"" off the table then check that the top longerons center intercept was an addition 14"". Then I put a level on the top and bottom longeron intercept points to check for plumb and it was right on. It's amazing that after all the bending that these two points come out to match. I was so pleased that I decided to go ahead and set the tail post now before it moves!
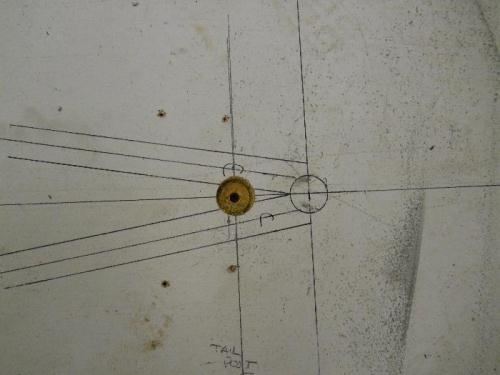
I dropped a plumb bob from the mark that I made on the longerons for the tail post center line. I made a mark on the table top and drew it to the table top center line. I used a 7/8"" hole saw and cut a hole through the 1/4"" plywood at the location to secure the base of the 7/8"" tail post. I added some bracing to the longerons near the tail to secure it better so I can grind the opening for the tail post. I just keep grinding until the tail post slipped in. With the tail post between the longerons I checked for plumb and secured the top to the ceiling. After rechecking everything I tacked the longerons to the tail post and rechecked again. Everything looks good!"
Hole Drilled for Tail Post Bottom (You can see how far forward the center has moved after bending)