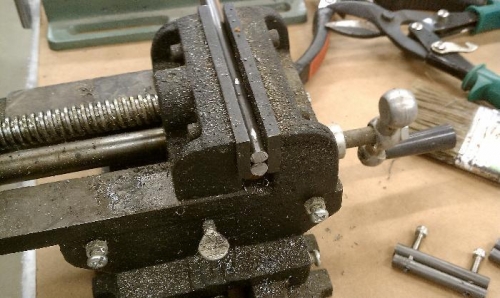
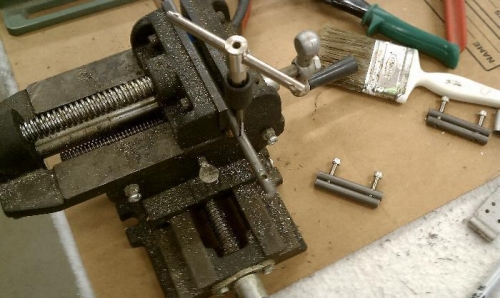
I finished making the steel rod pieces for the tensioning hardware then primed them. With the two lengths of rod clamped in the vise double decker I drilled through both at the same time on the drill press to make a pair. My practice pieces weren't drilling exactly perpendicular - shimming the back of the vise took care of that problem. I still had to make several pair to end up with one's I was happy with. I ended up using all the rod material I have to make the six pair I need.
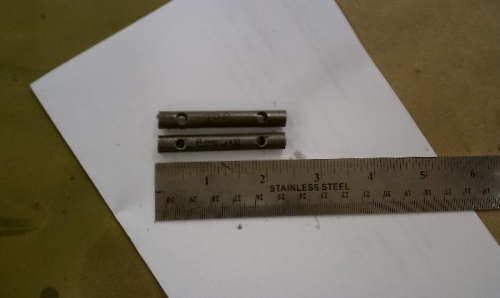
I made each rod piece 2-1/4" long but didn't cut to length yet. I layed out the top piece with the hole locations 3/8" from the ends for a distance between the bolts at 1-1/2". Then I filed a flat spot at the drilling location to keep the drill from wandering around the top of the rod. With the rods stacked double decker in the vise I first drilled a #40 hole though both location and both rods. Next I opened the hole up both pieces with a #30 hole. Next I opened up both pieces with a #21 hole. That is the hole size needed to tap the bottom piece for the 10-32 thread. Next I drill a #9 hole through just the top rod for the bolt to pass through. I drilled the #9 hole through the top piece with both pieces in the vise which worked fine, you just have to remember to stop before you go though the bottom piece. I ruined on piece by going through.
After the holes were drilled then I taped the bottom piece. Next I cut the rod pieces to length, 2-1/4". Then cleaned up on the grinder and deburring wheel. When I had 6 good pair I bead blasted then primed.