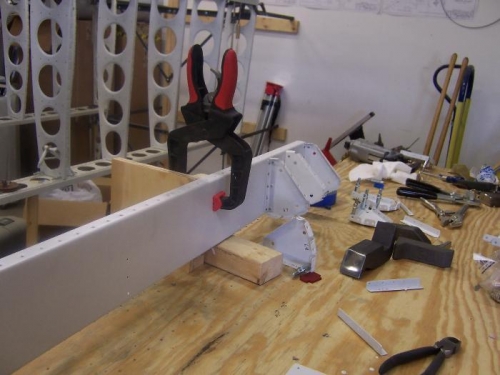
I spent the last couple days giving some thought about the sequence to rivet the flap ribs to the spar. It took me a little while to get into a good flow pattern but I eventually got to something that worked well.
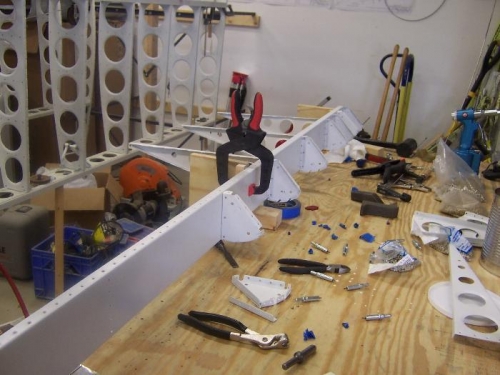
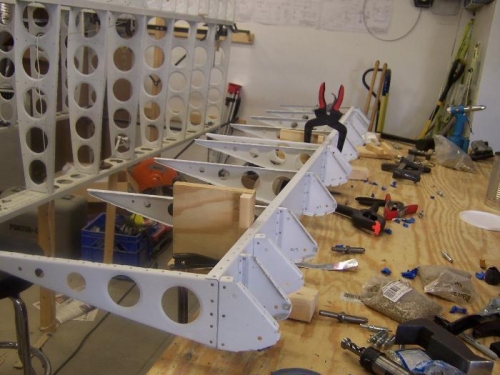
I found it worked well to rivet the attach angle to the nose rib first with the squeezers then rivet the nose rib and rear attach angle to the spar with the manufactured head on the rear side of the spar. Next step I riveted the back rib on. I started at the inboard end and worked toward the outboard end completing each location before I moved on.
After the ribs were all attached then I started on the nose skin. I riveted the bottom side onto the nose ribs then flipped the flap over and secured it flat and square to the table. Then I riveted the top of the skin to the nose ribs. I used the skip rivet technique to then attach the skin and gussets to the spar. I was able to set most of these rivets with the squeezers - even most of the gusset rivets I could set with the 4" yoke. I no longer have buyers remorse about these pneumatic squeezers! They have more than paid for themselves.
I still need to rivet the bottom side and bottom gussets to the spar then I'll be done with the left flap.