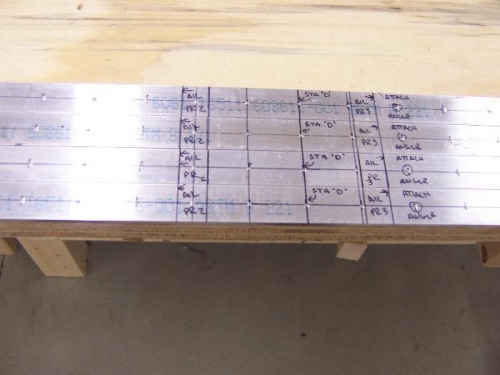
A comment by Eric Newton caused me to take another look at the aileron attach angle locations. Good thing I did I was not thinking correctly. The attach angles are attached to existing spar cap rivet locations. No new or added rivets are added for attach angles. In some cases the attach angle may need to be bigger than 1/2" or attached "backward". I marked out all attach points and direction of flange.
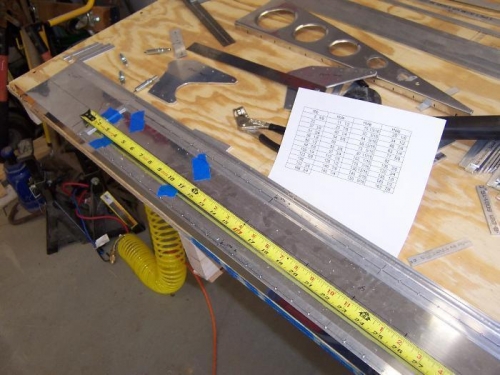
I marked a center line down the middle of the spar webs with a sharpie pen and straight edge. I butted the spar webs end to end and from the butt measured out to the wing attach point. I marked and located the end plate and drilled a #40 locator hole in the wing attach hole. I also drilled a locator hole in the first hole in the plate that aligns with the first hole in the spar cap in both the top and bottom capstrip. I then took a measurement from the wing attach point to the end of the spar, 167 inches, and cut and deburred the end. The extra spar web at the plate end I let run wild for now.
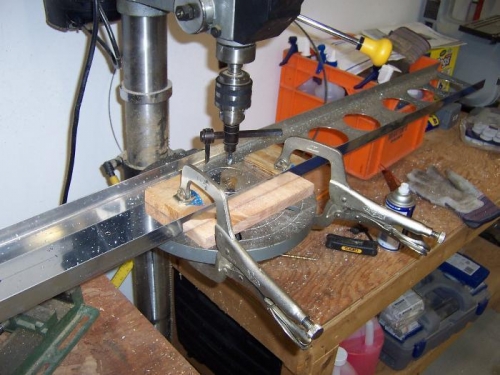
I started to mark out the vertical stiffener and lightening hole locations on the spar webs. I realized that I was doing a lot of hand calculator measurements and was leaving too much possibility of mistakes so I ran a spread sheet for these locations then marked them all out. I rechecked all my measurement ("measure twice cut once") and did find 2 mistakes and corrected them. - I then cut all the 3" lightening holes with the fly cutter on the drill press.