Brief Description: Started control stick assembly - Part 1
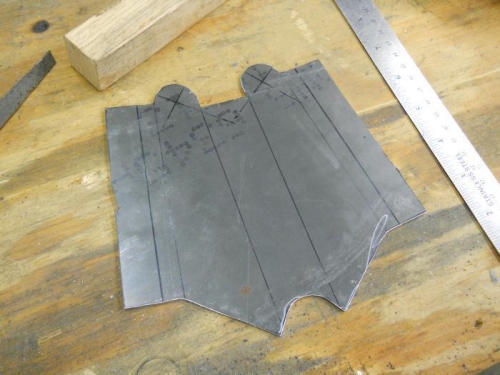
Well after a week at Oshkosh I'm ready to get back into it even though I just came home off a red-eye. Starting chapter 6 in the fuselage manual the first thing to do is make the mounting brackets. This part is big enough that I can't cut it out on the metal band saw so I used a jig saw with a metal blade to cut a blank out of the big sheet of .063 first then used the band saw to cut the edges. That worked fine.
The plans call for a space of 1-1/16" between the sides (inside of the "U"l). I forgot to add the wall thickness to the pattern so my first cut out was too narrow. Kind of a dumb mistake since the wall thickness is drawn on the full side pattern on the plans - I blame it on the red-eye!
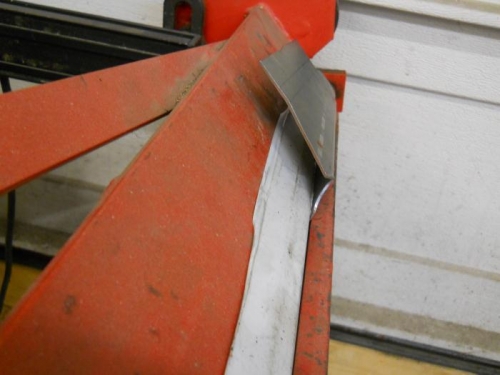
I decided to bend this one anyway just to see how it works out. What I found is it's not an easy piece to bend using a bending block and blow hammer and I didn't like the outcome so the practice piece came in handy.
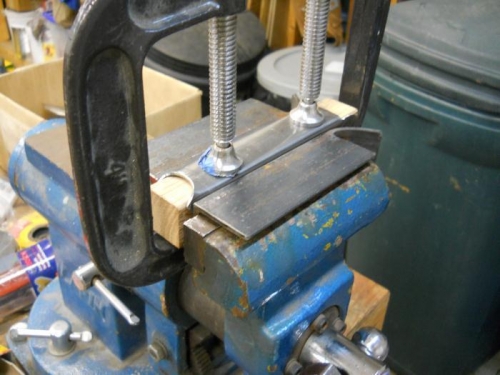
I made a new pattern and cut out the part. This time I made the bends of the "U" shape in my 36" HF brake. I couldn't completely close the "U" on the brake so I cut an oak 1-1/16" x 1-1/16" block to fit inside the "U" and used the clamping action of the bench vice to finish the forming. Then I used a bending block and the vise to bend the 5/16" flanges. I left the flanges long for bending then cut the final size of the flange. This method worked much better for me for making this part.