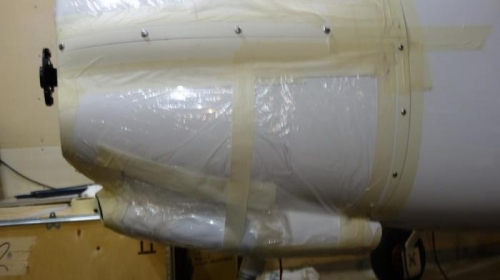
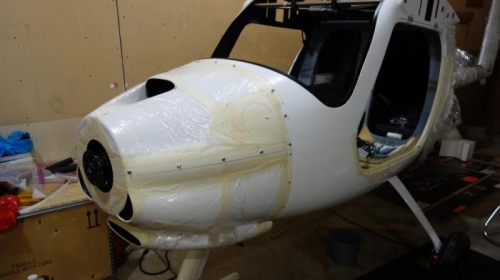
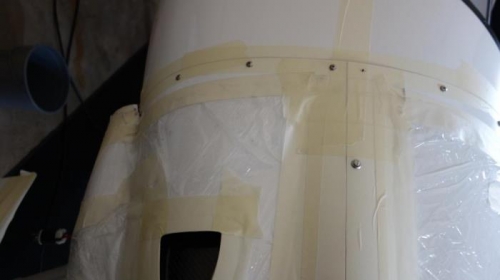
Brief Description: Attached cowl to front of airplane.
Attached cowl using masking tape. Made sure it lined up, Marked center hole on top cowl. Measured in 1/2 the distance of the mounting flange and marked the center mounting hole of the top cowl. Estimated where the bottom quick release screw on the top cowl should be positioned by looking at pictures I took of a Pipistrel Alpha trainer. Measured the distance from the center to the bottom screw and divided by 5 to get the spacing between. Repeated for the other side of the top cowl. Marked location for 4 evenly spaced screws on each side of the lower cowl, drilled 3mm holes with standard drill bit, then used step drill to increase hole size to 5mm (1mm larger than the screw size) on bottom cowl holes and 6mm on upper cowl holes. Removed the cowls, used 1/4 inch round file to increase hole size on upper cowl until quick release screws slide in and out easily. Used tapered (100 degree) grinding stone turning by hand to chamfer holes to prevent gelcoat from chipping. Enlarged the top cowl holes on the fuselage to 12mm with stepper bit, Used a 3/4 inch diameter round grinding ball to make the chamfer so the female portion of the quick release screws fit flush to the fuselage surface. Drilled lower cowl fuselage mounting holes to 8mm with a step drill. Ground out the back side of the hole so the blind nut will expand properly by attaching a 3/8 cylinder Dremel grinding attachment through the hole to the Dremel with the Dremel on the outside of the fuselage and the bit on the inside. Ground a flat bottomed round hole until thickness was about 2-3mm. Put a small amount of epoxy on blind nut (so they won't spin) and inserted and then compress them in the holes.