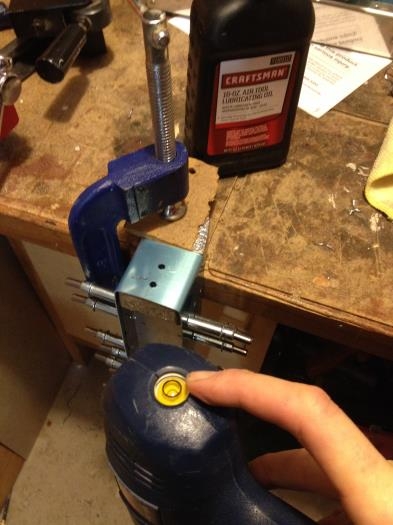
The drilling of the mounting holes for the counterweights seems to be another ont of those popular topics on the builder forums. Wasn't as hard as I feared. I assembled the counterweight rib and skin and slid the weight in place where it should go. Then I mounted the whole assembly to my workbench with a big c-clamp and a scrap of perf-board just to protect the aluminum from any big scuffs and spread out the load of the clamp for a good, tight support on the bench. Using a few drops of the air-tool lube oil in the holes, I drilled the holes through the skin and the weight. It took a little effort, mainly just going slow, pulling the drill out and removing the lead scrap from clogging up the hole, then drilling a little father. I used my standard electric drill since it has a lot of torque, and most of all I could get a good straight hole using the bubble level on the back of the drill for a nicely aligned set of holes.
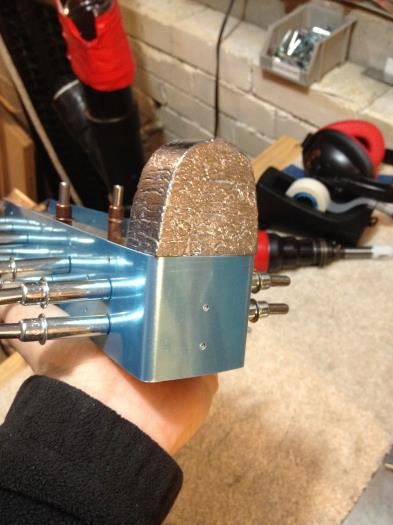
It worked great! Holes are drilled in the weight as well as ribs and skin.
Assembing the rib/skin/weight to match drill.
Bubble level on both the part mounting as well as drill for good alignment for drilling.
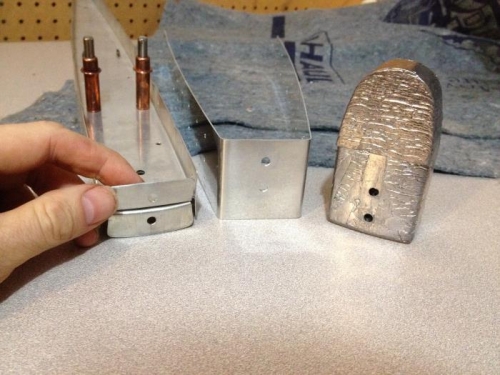
Done! Holes are all nicely lined up, deburred and ready for dimpling.