Brief Description: Fitting the countersink rib and starting the stiff
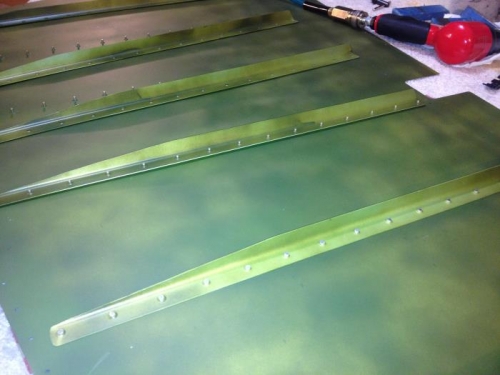
The countersink support rib at the top of the rudder is put into place with clekos. I found that it was kind of a tight fit wrapping the skin around the rib. Once the clekos were clipped in place all the holes did line up well and can be drilled to the #40 size easily. I did have to use the bending pliars to flatten the outer flange a little bit, it was slightly bowed out from the factory and caused the tight fit.
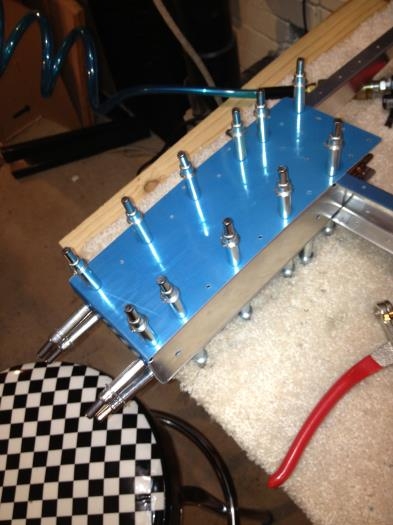
Next I put the riveting tape to proper use and dropped in all the -3.5 rivets into the holes in the skin so I could turn it over easily and rivet the inside. It seemed that these had a tight tolerance since they went in very easily with the rivet gun using the back-rivet head. Just do a quick two bursts and check with the rivet gauge. I riveted down to the point that the shop heat would just barely clear the guage and that seemed to be ok.
Tight fight, but the skin and ribs lined up.
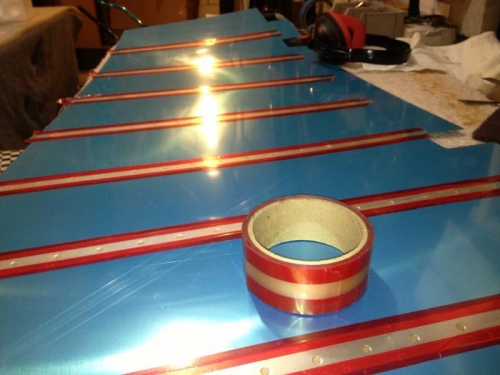
Taping the long line of stiffener rivets in the skin.